
by Todd Walker
Ben left a comment requesting details on how to make the Survival Sling Shot I shared in August.
Thanks for your interest, Ben. Here ya go!
Step 1: You need a basic wrist rocket sling shot to start.

You can find them at box stores for cheap or yard sales even cheaper. They usually come with a yellowish colored surgical tube band. Purchase a black band and replace the one that came with your sling shot. The black ones are stronger and offer more power on your draw.
Step 2: Fabricate a piece of lightweight metal (aluminum) about an inch wide. I used a scavenged bracket from a bleacher. Bend the strip at a 90 degree angle at the 3 inch mark on one end.

Aluminum bracket for mounting the line spool
Create a notch on the short end of the bend that will fit between the bar and plastic handle of your sling shot.

Tweak the notch until it fits snuggly
Pre-drill two holes in the bracket and plastic handle and mount it with screws to the weapon.
Step 3: Build your line spool from a 5 to 6 inch long piece of PVC pipe (1 inch diameter). Glue a cap to one end. Drill a 1/8 inch hole in the center of the other cap that will accept a 1 inch long bolt.

Mounting bolt attached to cap
Insert the bolt from the inside of this cap and secure it to the cap with a lock washer and nut.
Drill a matching hole in the top of your aluminum bar to accept the bolt. Attach the line spool cap to the bar with a wing nut and lock washer – thumb tight.
You can fill the line spool tube with small items you might need, like fire starter and repair glue to change arrow tips. Don’t forget to include a small Bic lighter.
Now dry fit the spool onto the mounted cap. Don’t glue this end. Use tape to hold the cap on the pipe so you can access the goodies inside the spool when needed.
Step 4: Wind several feet of nylon line around the spool. I notched a small groove near the unglued cap end and tied a simple loop to begin my spool. Use duct tape to secure the line on the spool.
Wrap the line around the spool until you have enough. Not too bulky, but enough. You’ll always have extra cordage with you when needed.

Attach a fishing leader to the end of your line. Burn the loose end to prevent unraveling. I used a velcro strip to keep the line from peeling off during storage. A rubber band would work too. This is where I attach the line to my arrow when sling shot fishing. (Check game and fishing regulations in your state before using this to harvest animals or fish)
Step 5: Attach a Whisker Biscuit for your arrow rest between the arms of your sling with wire ties. If done properly, you can make the arrow rest fold down to allow you to shot ball bearings or small pebbles from your sling.

Whisker Biscuit
Step 6: You can modify a carbon arrow with a fishing tip, field tip, or broad head. Here’s a look at my mods on my fishing tip.

Fishing tip with line attached and glued
The line runs from end to end of the arrow and attached with hot melt archery glue. (Keep the glue stick inside the spool tube for storage).
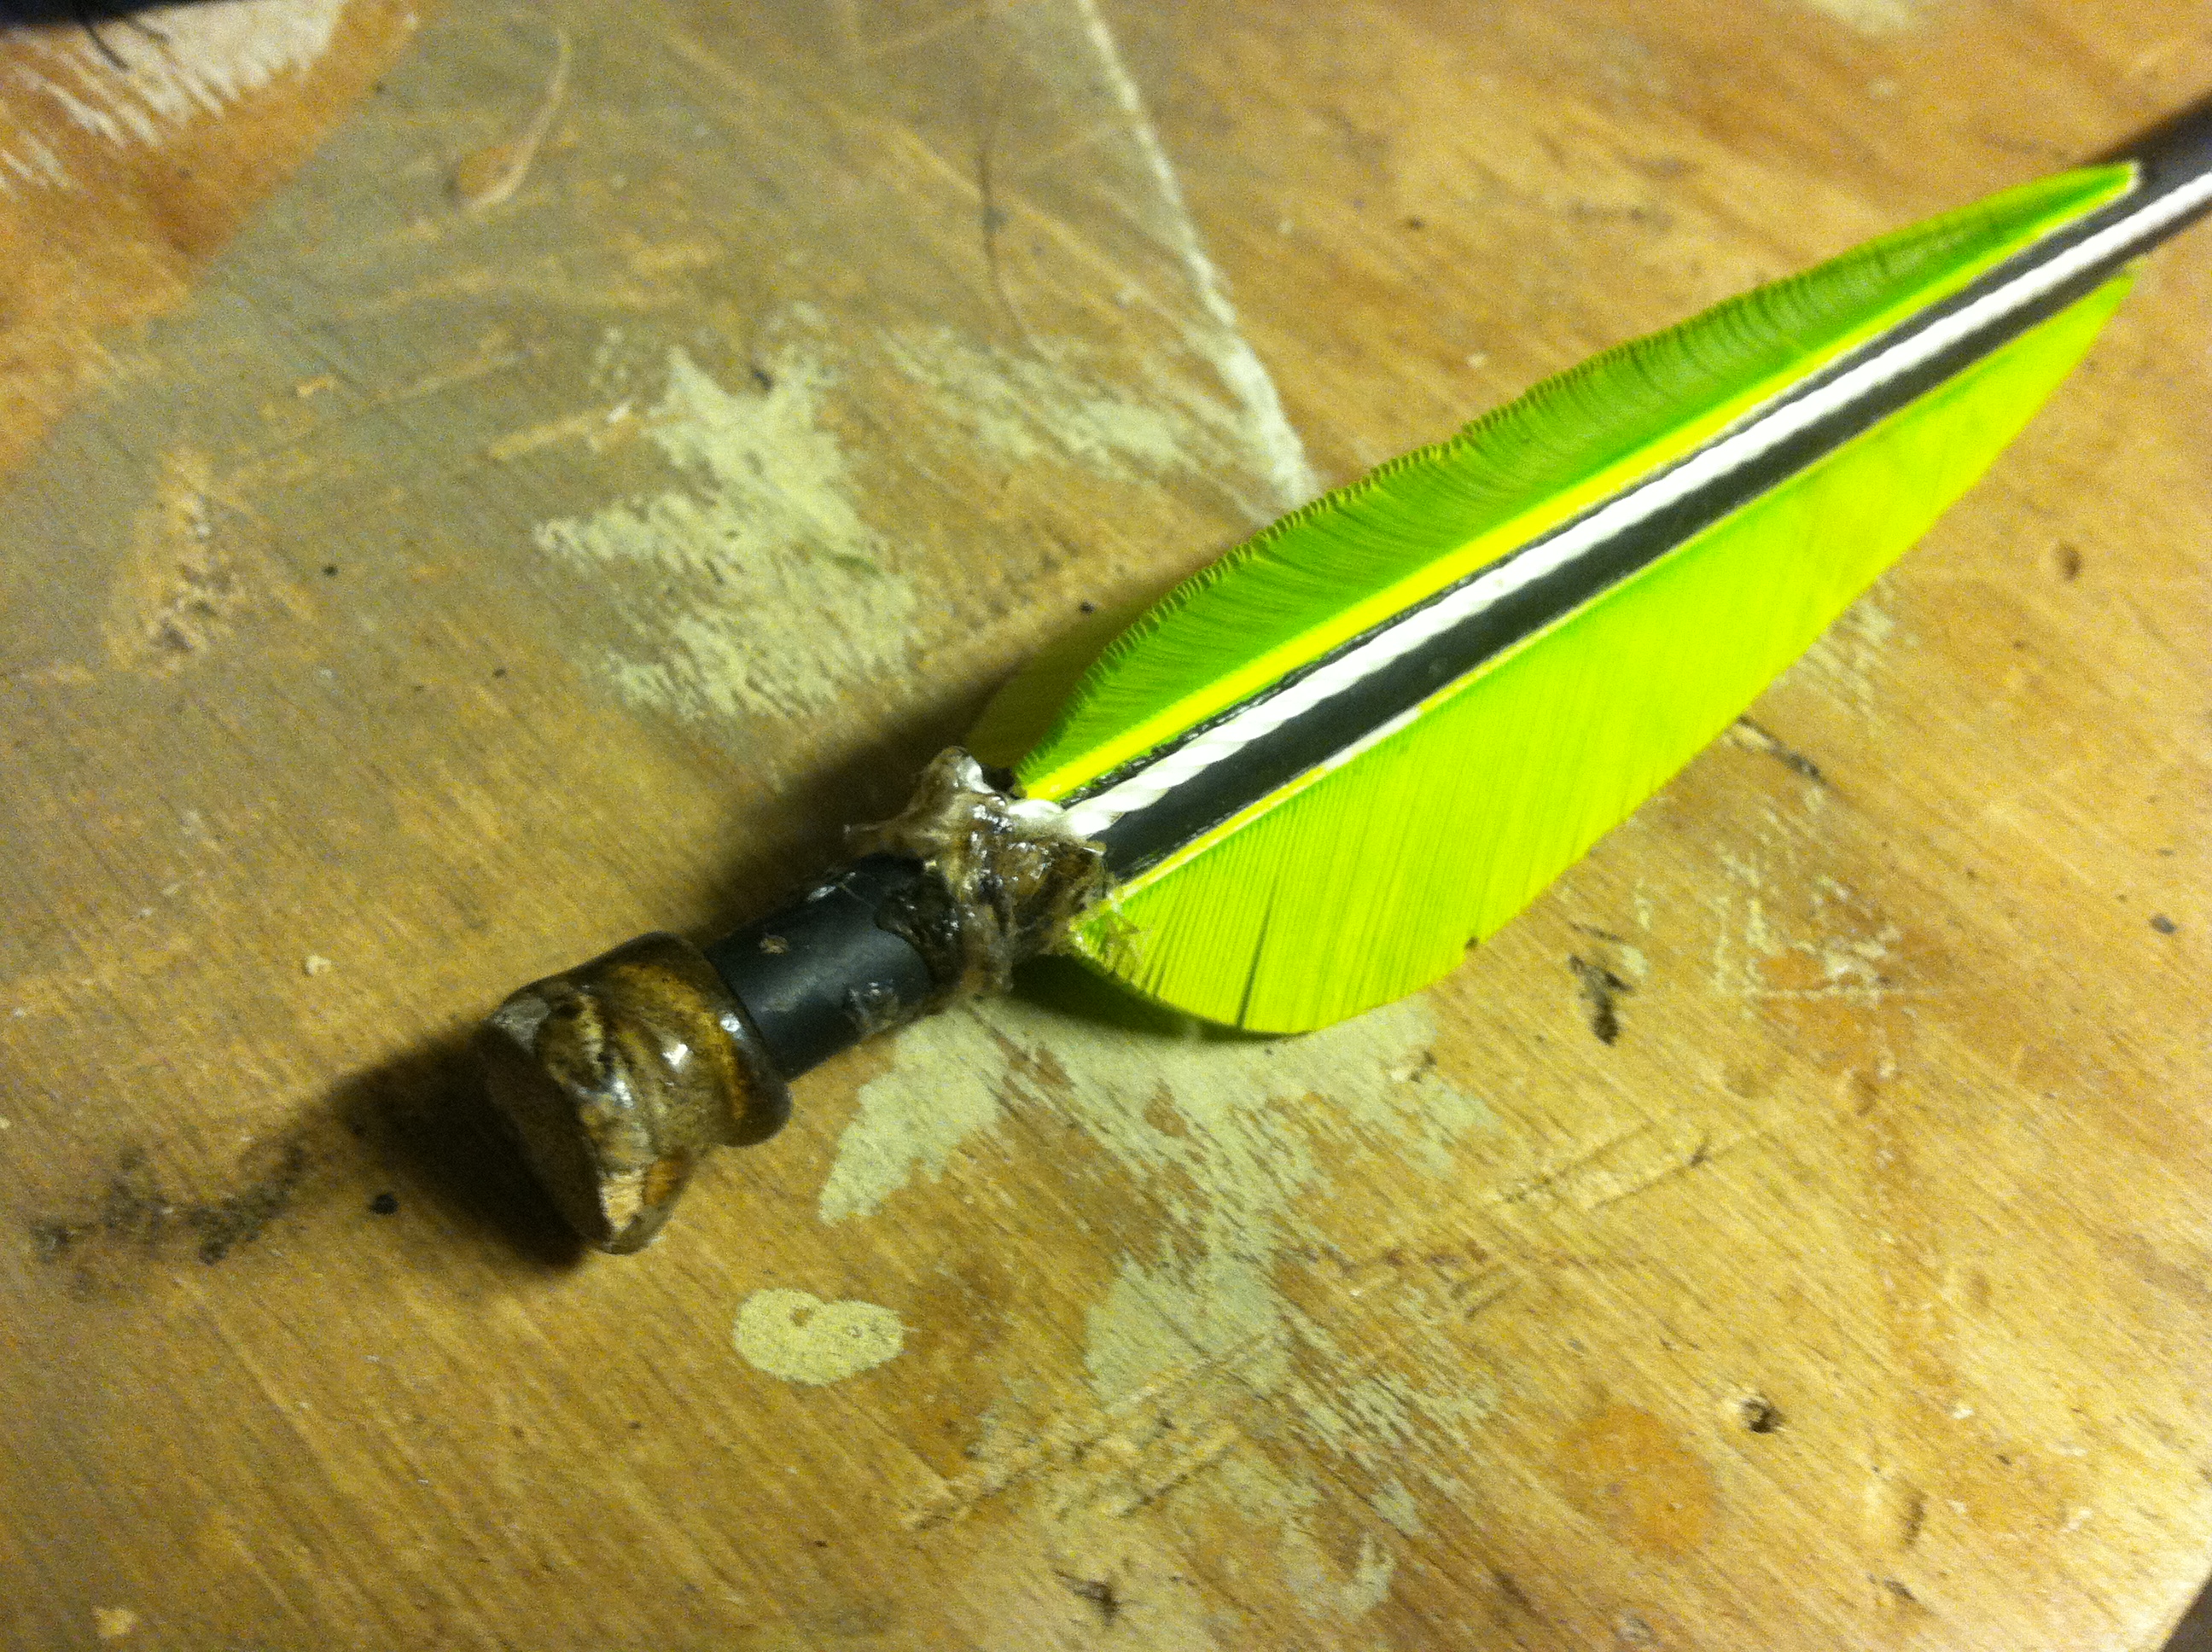
Golf tee inserted for a nock
I removed the standard nock and glued a golf tee in its place. This gives a better gripping surface in the leather sling pouch when you draw your sling shot. This step is not necessary, but adds to the overall project.
To use for fishing, attach the leader from your spool to the line on your arrow. Load your arrow in the arrow rest, and you’re ready to go fishing!

I’ve got a couple of arrows in my sling shot quiver for different applications. My next project will be to make a take-down arrow to fit inside my kit.
Hope this helps, Ben. Let me know if you have questions or need more details.
Keep doing the stuff!
Todd
P.S. ~ As always, if anything from this site adds value to your life, please pass it on. You can also connect with us on Twitter, Pinterest, and our new Facebook page. Thanks for sharing the stuff!
Copyright Information: Content on this site (unless the work of a third-party) may be shared freely in digital form, in part or whole, with a link back to this site crediting the author. If you are interested a third-party article, please contact the author directly for republishing information.
Related articles
- 33 Awesome DiY Projects for Preppers (survivalsherpa.wordpress.com)


if you use a small hinge below the pvc pipe mounting area it could fold down out of the way still be attached so it doesnt get lost. simply add a piece of metal on the opposite sisde of the hinge with the hinge screws or bolts, to lock in place for use, slide “thumb lock”down to lock in “fire” position. a little more work, but makes it more versatile and keeps everything in one place.
LikeLike
I like your idea, derek. A hinge and a catch would work. Just got to get it on the drawing board. Thanks for the tip!
LikeLike
Pingback: Made by Hands: Make it or Buy it? | Survival Sherpa