by Todd Walker
I love wool! Here’s why:
- Wool fiber absorbs up to 36% of its weight and gradually releases moisture through evaporation.
- Wool has natural antibacterial properties that allow you wear it multiply days without stinking up camp. Not so with synthetics.
- Wool wicks moisture, not as well as synthetics, but better than cotton.
- Wool releases small amounts of heat as it absorbs moisture.
- Wool contains thousands of natural air-trapping pockets for breathable insulation.
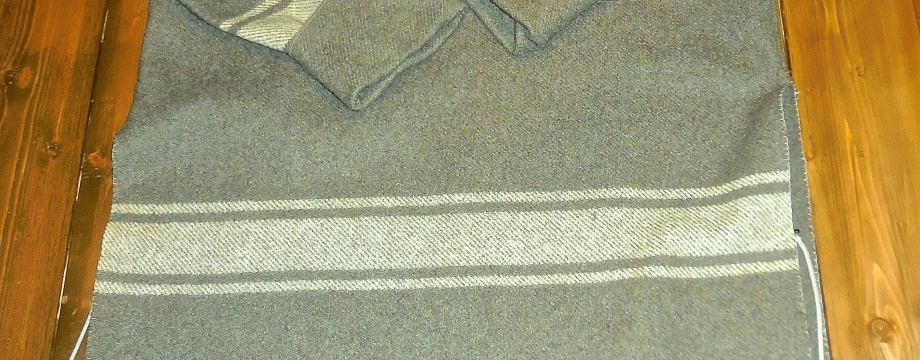
Years ago I saw Dave Canterbury make a hunting shirt from a wool blanket. Naturally, I had to make one myself. I ordered two 100% wool army blankets from Cheaper than Dirt for around 20 bucks each. Good luck finding them at that price now.

My original hunting shirt
I wore this while working on this fat lighter’d post. A few of our readers requested a tutorial on making one themselves. Hope you enjoy.
Material and Tools
- A 100% wool blanket
- Scissors
- Tread and needle
- Measuring device
- Tailor’s chalk
Step 1: Lay out for torso
There’s two ways to get the proper width of your shirt. Place arms by your side and measure around your chest and arms at the widest part of your shoulders. If your measurement is 50 inches, divide that in half and add 4 inches (50/2 + 4 = 29).
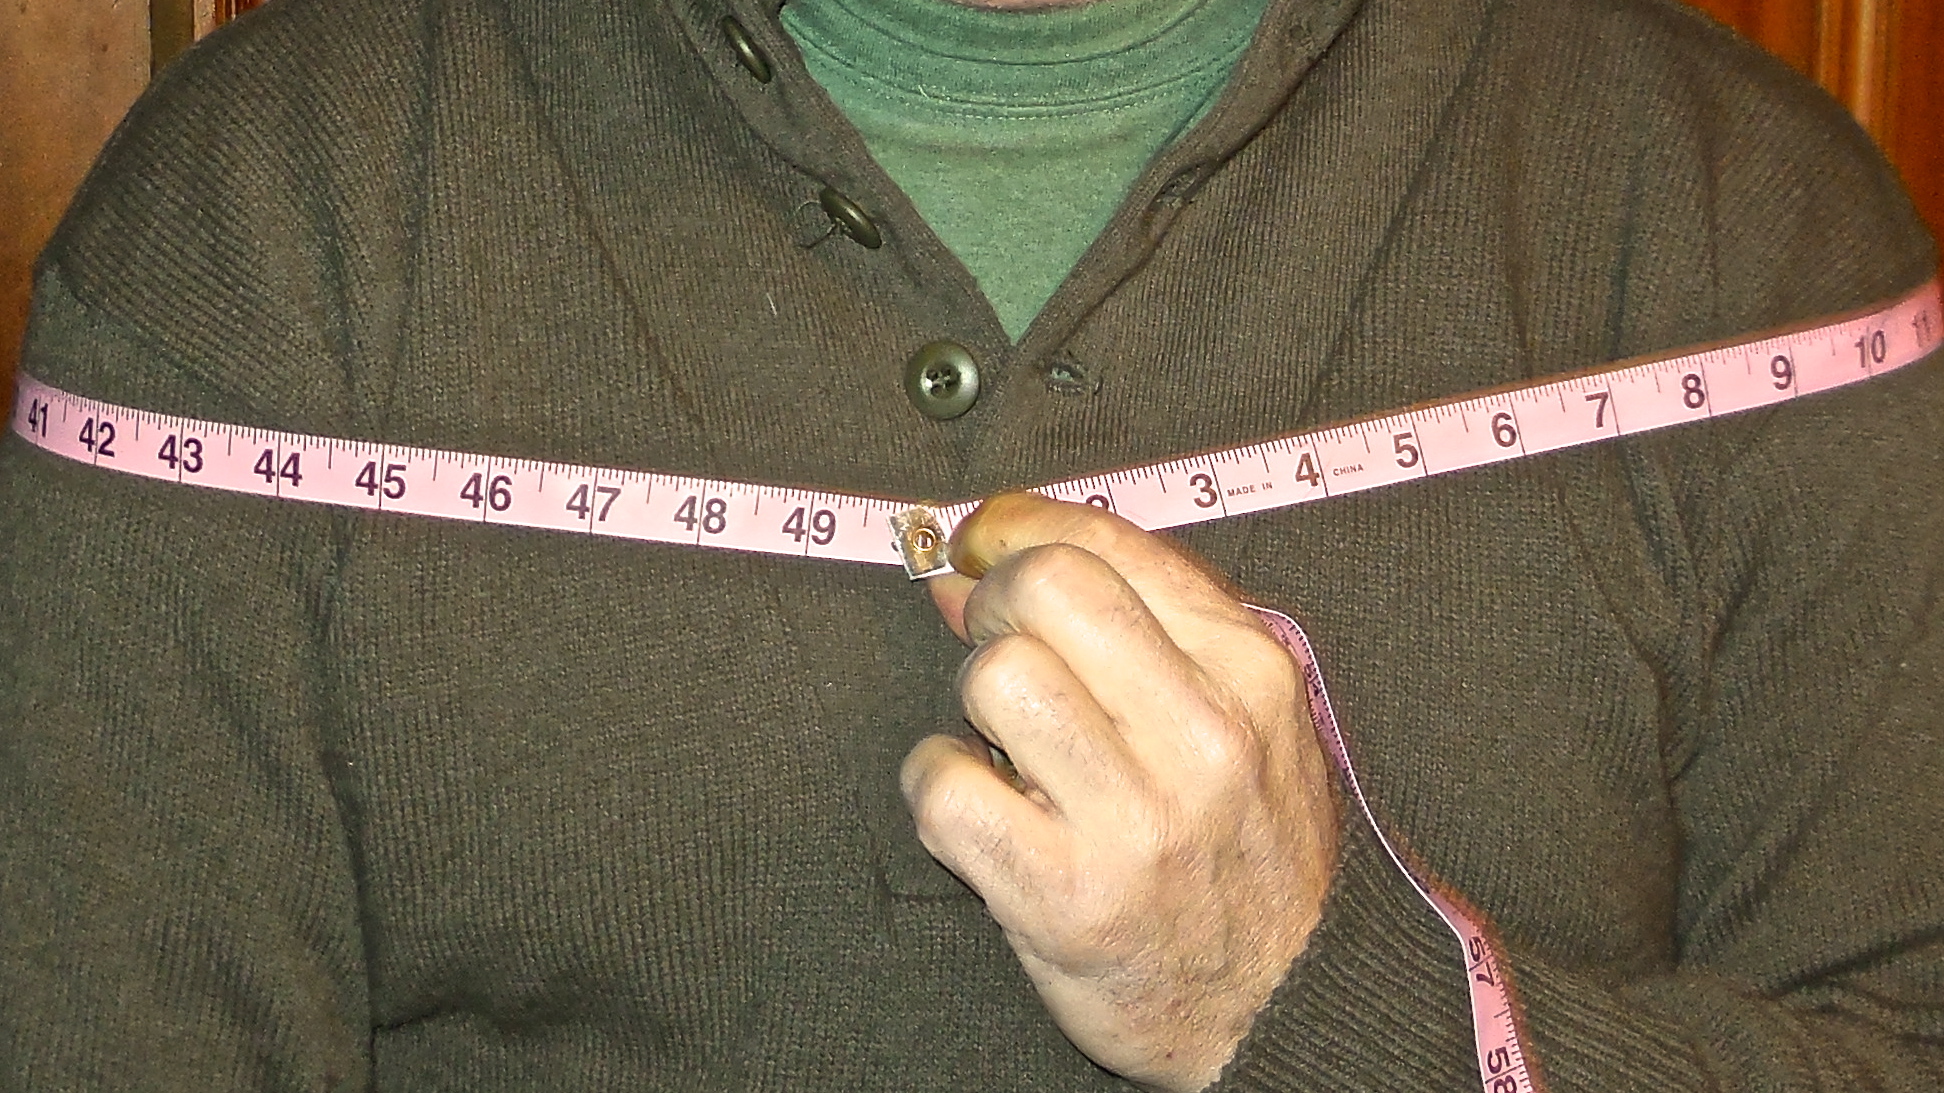
Measure with layers you’d normally wear
Or you can fold the blanket in half with about a 12 inch offset on the bottom, place it on the floor and lay your body on top of the blanket. Mark the width of your shoulders and give yourself a few of inches over your shoulder length to make your cut. This width is dependent upon how roomy you want your shirt.
Step 2: First cut
With your blanket folded length-wise, the front of your shirt should be about one foot shorter than the back. A longer panel on the back covers your bottom when you sit.

The front panel of this new shirt is just over 36 inches long

Cut the width mark the full length of your folded blanket
Mark and cut the width of your shirt.
Step 3: Cut the neck hole
Make a center mark along the ridge of the fold. Now measure out 4 to 5 inches on both sides of the center and cut a slit in the ridge. In the center of this neck hole slit, cut another 6 inch slit perpendicular to the first slit on the front panel.

It now looks like a poncho
Try it on. Your head should go through easily. Tweak as much as needed.
Step 4: Cut the sleeves
Measure around the top of your shoulder to the middle of your ribcage. Take half of that measurement for the width of your sleeves where it will connect to the torso portion.

The factory hem is on the hand end of the sleeve
My sleeve dimensions:
- 14 inches wide at the body – ample room for arms to move about
- 6 1/2 inches at the hand end
- 24 inches long from should to hand end – this length give me a generous cuff on the sleeve which can be rolled over my hands when needed
Double the leftover material from your torso, measure and mark the width, and cut two sleeves.
Step 5: Sew it together
If you’re good with a sewing machine on wool, go for it. I’m not. I hand stitched my first wool shirt. I used a blanket stitch on the edges and all seams. Here’s the blanket stitch tutorial I used.
Turn the shirt inside out if you don’t want seams exposed. Once sewn, turn it right side out. Be sure to double or triple stitch stress points on your shirt.
Note: When stitching the sides below the sleeve, I stopped at my waist line. This allows me to reach my pant pockets, sidearm, and knife without lifting my shirt.
Stitch some short pieces of paracord to the v-cut in the neck for closure. I also added this same feature the sides below my waist to close the slit if need be. (Melt the ends of the cord to prevent unraveling)
I wanted to make this new shirt with a hood but didn’t like the design. Any suggestions are more than welcome. If you make one for yourself, we’d like to hear how it turned out.
Keep Doing the Stuff,
Todd
P.S. – You can also keep up with the Stuff we’re Doing on Twitter, Pinterest, Google +, and our Facebook page. Trade theory for action and join us in the Doing the Stuff Network on these social media sites: Pinterest, Google +, and Facebook.
P.P.S ~ If you find value in our blog, DRG and I would appreciate your vote on the Top Prepper Sites! You can vote daily by clicking here or on the image below. Check out all the other value-adding Prepper Sites while you’re there…

Thanks for sharing the stuff!
Copyright Information: Content on this site (unless the work of a third-party) may be shared freely in digital form, in part or whole, for non-commercial use with a link back to this site crediting the author. If you are interested a third-party article, please contact the author directly for republishing information.


Thanks, Todd!
LikeLike
You welcome, Caroline. Still haven’t attempted a great kilt. One day…
LikeLike
Dave Canterbury had a removable hood that was made of oil cloth, I think. He could put it on and then put the shirt on after and it would stay on. Thanks for this post!
LikeLike
The hood I designed out of the blanket material was too floppy. Not what I wanted. I think an oil canvas lined with the wool blanket material would work. Thanks for sharing the idea, chewy!
LikeLike
If you make the hood with a flat place, rounded at the top on the back of the head and make a long that goes around the flat place and both pieces doubled, the hood won’t be floppy and can be made from the wool blanket and attached to the shirt.
If you sew a backstitch for the construction of the shirt, the seams will be more airproof. Then, do the blanket stitch on the raw seam edges and turn the shirt. The backstitch with a needle and thread can be googled. Backstitch is very easy.
If you email me from the address on my blog, I can email you a picture of what I am talking about.
By the way, skip the tailor’s chalk if you want to. Use a sliver of soap. It has a sharp edge on it that works perfectly. I always use a sliver of soap. If the edge is not sharp, just sharpen it with a razor or knife.
I bought a US Marine Corp or Navy wool blanket from a yard sale–$1. I wish I could find more. My military blanket is so warm that I have now used it like a sheet because it is so much warmer than even the most cozy flannel sheets. Besides, the sheets are not wool, but cotton or polyester.
Being a girl, I can do this. I am going to get a blanket to make a long wool skirt to wear over my pants. However, a guy who was cold would be just fine and manly in the wool garment. It would work well with the shirt and just look like a long coat.
LikeLike
when i was stationed in Germany back in the 80’s. we would take the wool blankets to the on post tailor and have them make a liner for the old wet weather parka the Army issued. the combo of the regular uniform and the weatweather parka lined with the wool lner always kept me warmer than any field jacket did!
LikeLike
Great tip, John! Thanks for passing it on to us.
LikeLike
you can get wool moving blankets too.
LikeLike
Pingback: Julie's Weekly Roundup 2.15.14 - Home Ready Home
Pingback: How To Make An Awesome Shirt From A Wool Blanket - SHTF Preparedness
Pingback: 14 DiY Projects for Wilderness Self-Reliance | Survival Sherpa
Pingback: The Single Best Piece of Survival Gear for Emergency Core Temperature Control | Survival Sherpa
Creating an effective hood for your hunting shirts can easily be created with the same material. You need to measure the distance around the neckhole opening from the farthest point forward you would like to have the hood to come on your shoulders and around the back portion of the diameter you would like the hood to be stitched to as a finished product. Take this distance and divid by two and add a half inch. Now measure and cut two squares with the sides equaling this previous measurement. When your squares are cut lay them one on the other and proceed to blanket stitch them together on two sides so you are left with a stitched corner. Now separate the pieces at the opposite corner so you can carefully fold the fabric so the stitched seams fold inside to rest against each other leaving you with a finished look along the exposed side of the fabric. This is now your hood and you need to finish by simply turning the jacket inside out and pinning your hood along the perimeter of the neck opening corresponding with the point your measured previously. If you would like a draw string hood you would complete that pretty simply at this point by running the drawstring next to fold created at the front of the hood when we folded the stitches inward. Depending on the size of the drawstring used you would cut small slits for the ends of the string to poke out through and tie a basic knot on each end larger then your slits. Now and optional step for a cleaner finish would be to come say 1/4″ to 1/2″ from the fold and able a running stitch parallel to the fold creating a channel to contain the drawstring. You step is with the jacket still inside out connect the two over lapped edges of the hood with the edge of the hole for the neck by aligning the three pieces of fabric and again use your blanket stitch to proceed from one end to the opposite end of the hood. You now have a hooded hunting jacket complete with drawstring.
LikeLike
Pingback: 49 Outdoor Skills and Projects to Try When Camping | Survival Sherpa
Reblogged this on My Sustainable Home.
LikeLike
Pingback: Made by Hands: Make it or Buy it? | Survival Sherpa
Pingback: Made by Hands: Make it or Buy it? | OffGrid Survival Website