by Todd Walker
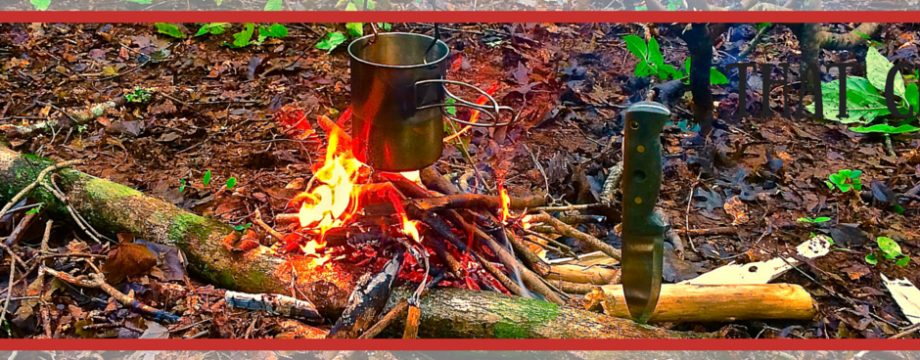
Of all the outdoor self-reliance skills, fire is king. Many will argue over my statement.
You know fire is life out there! No one can deny its usefulness as a survival tool.
Here are my reasons it tops the list of wilderness survival skills…
- Potable water via boiling for hydration – essential for Core Temperature Control (CTC)
- Cooking (especially hot cocoa)
- Create charred material for your Next Fire
- Fire hardening wooden weapons/tools
- Burn and scrape wooden containers
- Wilderness clothes dryer
- Making pine pitch glue, straighten arrow shafts, bending wood, etc., etc.
- Smoke for preserving meat
- Hygiene – take a smoke bath to kill bacteria on skin and clothing and repel insects
- Making medicinal concoctions
- Emotional camp comfort and defense against uninvited wild visitors
- Illumination
- Hypothermia’s antidote (CTC)
- As a southern Chigger magnet, the fact that smoke drives these tiny biting mites out of debris shelters is reason enough to make fire my #1 wilderness survival resource in the South. If you’re not personally familiar, they can cover your body with red, itchy welts that can drive you to the brink of insanity!
Fire is even a survival tool in modern homes. The crackling oak logs in your fireplace, the blue pilot light in the furnace, even your electric hot water heater and night-light in the baby’s nursery makes fire indispensable to every home.
To the modern mind, access to fire’s life-sustaining value is automatic. Press a remote for endless hours of TV entertainment flowing from coal-burning power plants.
Unfortunately, fire is not automatic in wilderness survival.
For this reason, and the chigger thing, your Next Fire kit should contain at least three different ignition sources to help you build a sustainable fire.
Ignition Sources
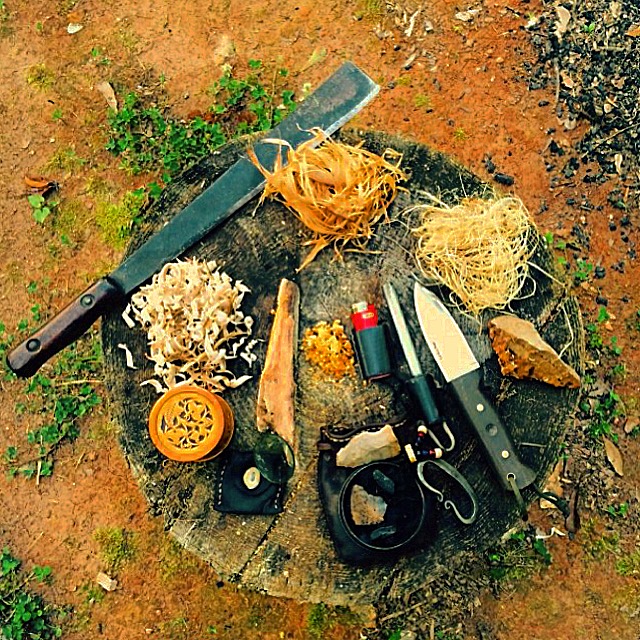
Plant tinder and ignition devices going clockwise from 12:00: Cottonwood inner bark, Tulip Poplar bark, Horseshoe Fungus, Flint and Steel w/ Char tin, Magnifying Lens, curls from feather sticks, and in the middle is Fat Lighter’d shavings, Gorilla Taped Bic Lighter, and Ferro Rod.
Depending purely on primitive combustion methods like a bow or hand drill is reserved for primitive living experts or backyard bushcraft practice sessions. Failure is always an option with friction fires. Heck, even modern ignition sources doesn’t guarantee fire in all conditions.
I’ve listed the advantages and disadvantages for the items in my Next Fire kit. Each device is easy to use with practice.
A) Bic Lighter (Open Flame)
Advantages
- A new Bic will give you thousands times more open flames than a box of kitchen matches. A wet match is useless… well, except for picking your teeth.
- Submerge a Bic and it can be back in service within a minute or so by blowing the moisture off the tiny ferro rod striker.
- Easy to use. Even a young child can use a lighter (Tip: always remove the child safety device from Bic lighters in fire kits to make them easy for you and a child to use in an emergency).
- Even an empty Bic is a useful combustion device. More on that later in our School of Fire Craft series.
Tip: Wrap Gorilla tape around the lighter and you have a built-in tinder and fire extender – a walnut-size ball of duct tape will burn over 10 minutes.
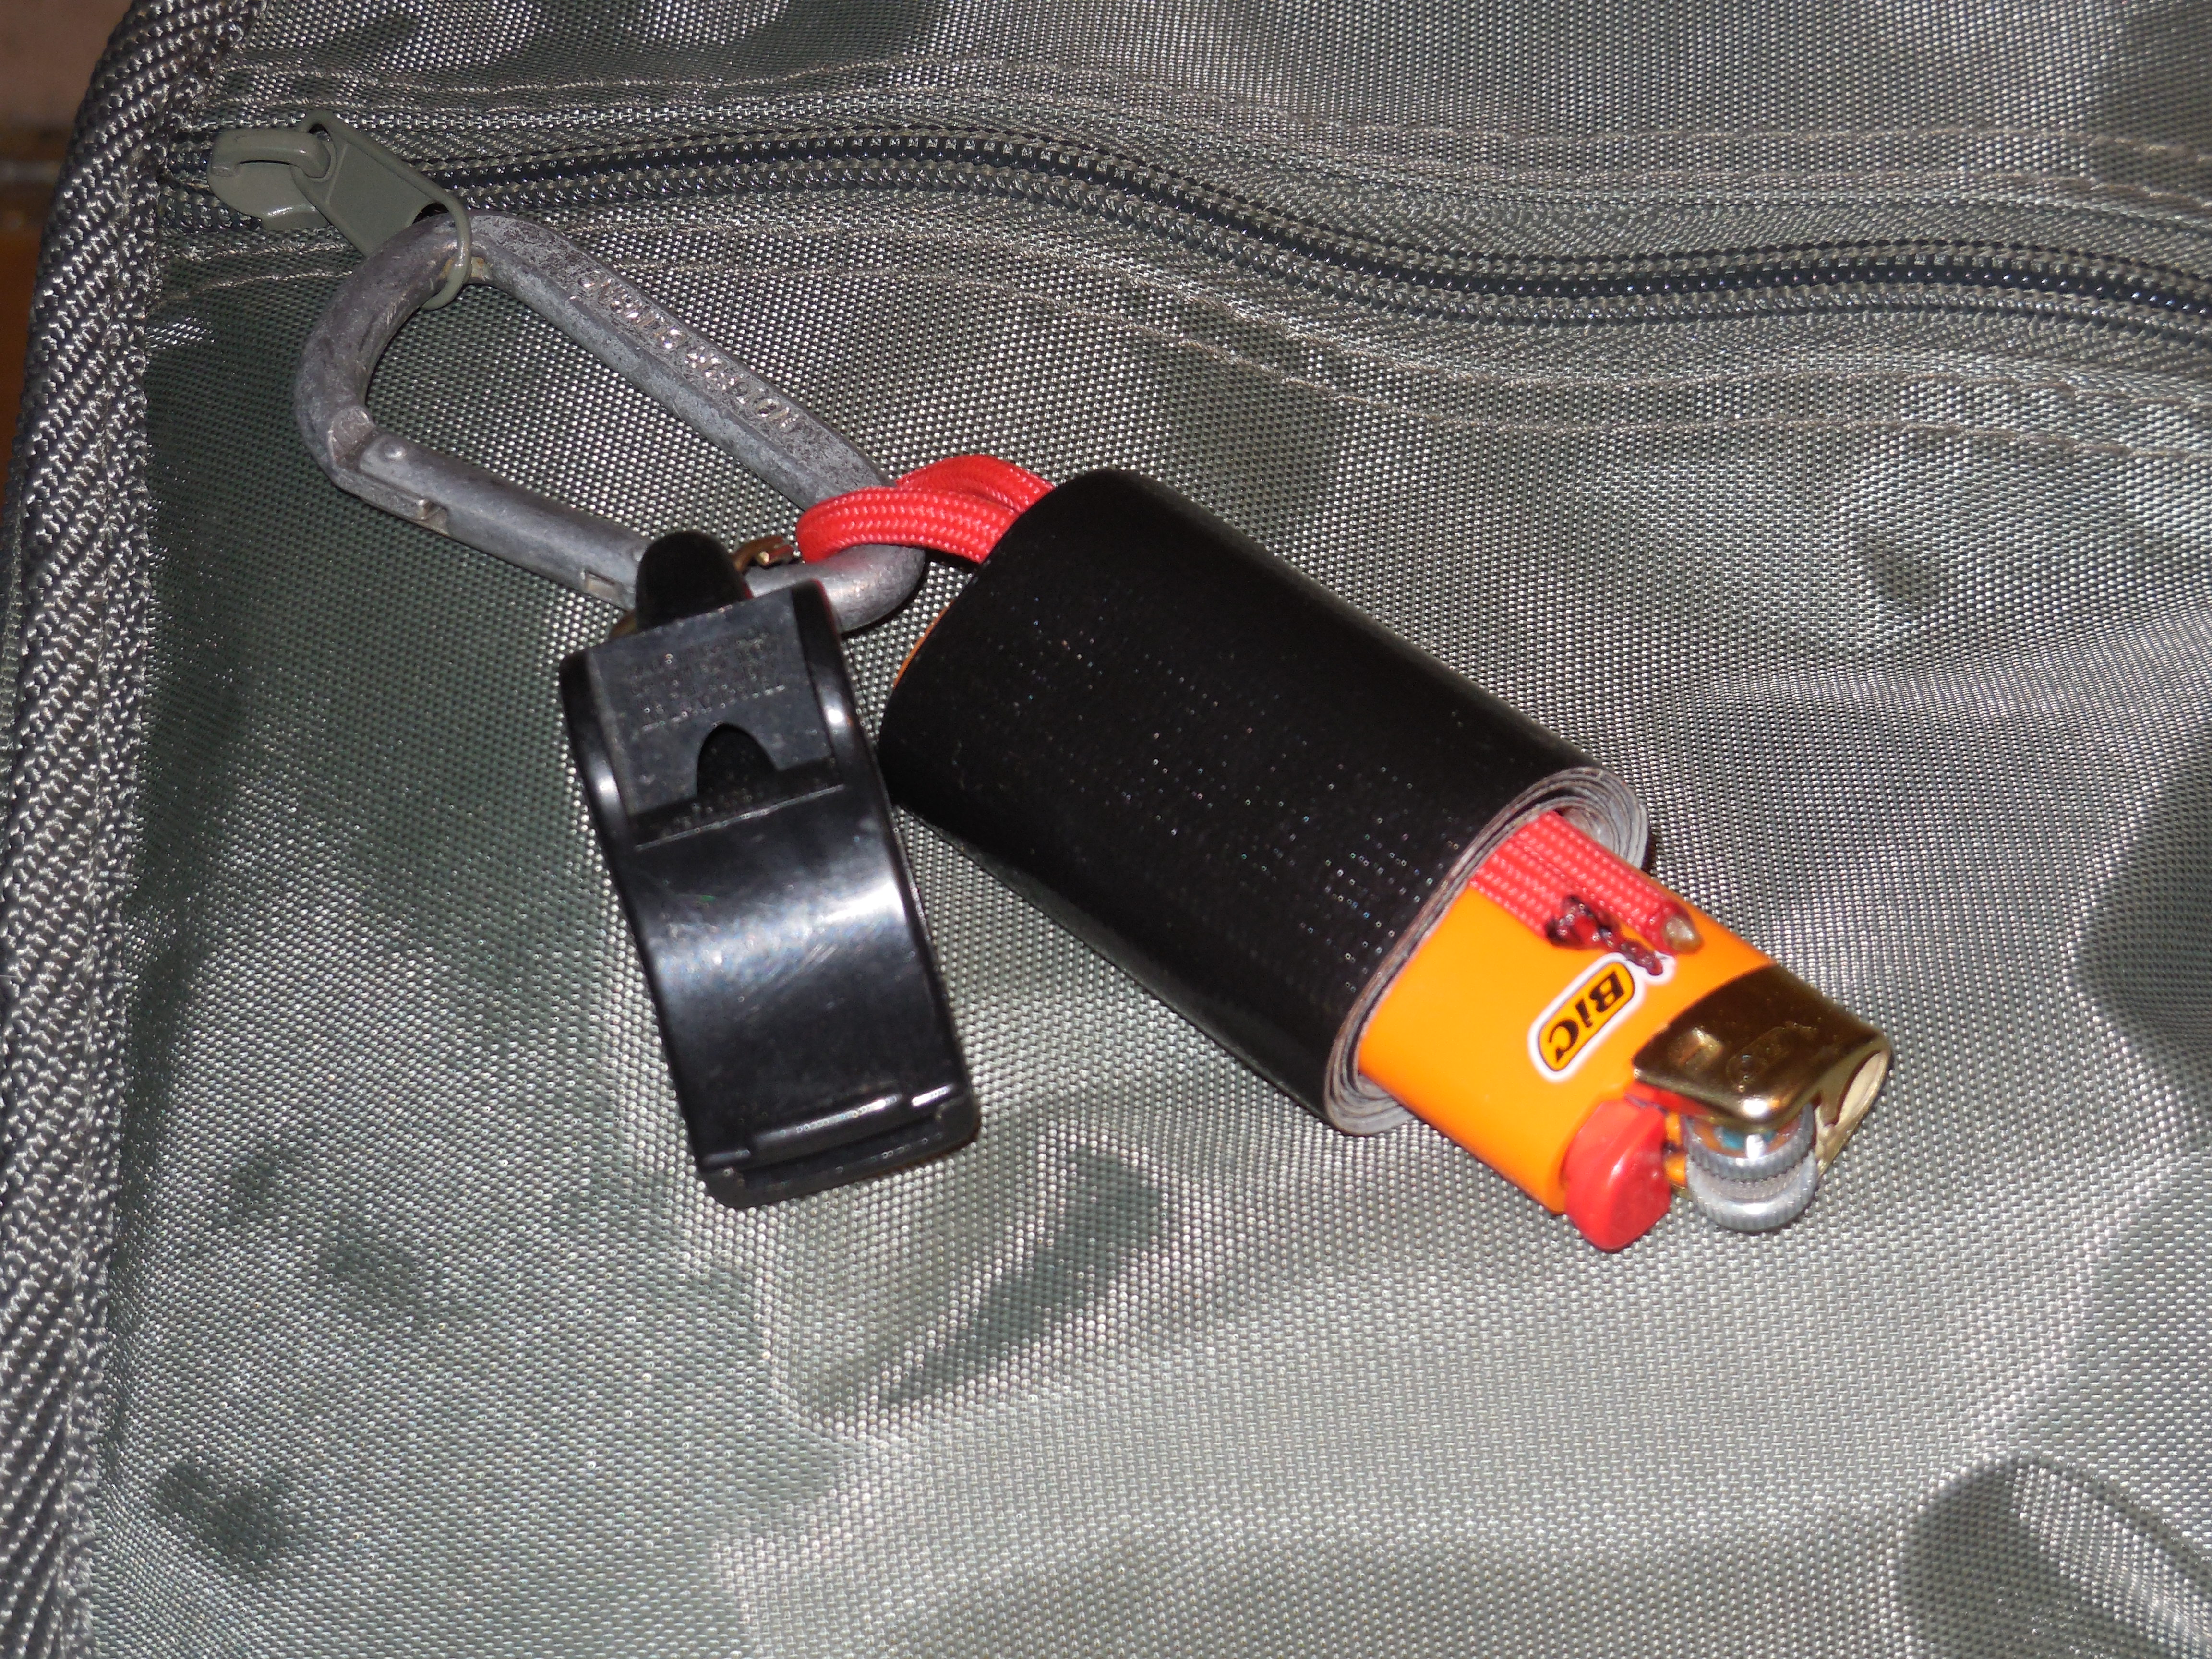
Use a carabiner to attach the duct taped lighter to your pack
Note: I only use matches for specific fire challenges. They are not a part of my Next Fire Kit.
Disadvantages
- It’s difficult to monitor the fuel level unless the housing is clear like the cheaper, rectangular lighters. I only carry Bic lighters.
- Extreme cold will kill a Bic. Warm it in your arm pit or crotch to get the butane flowing again.
B) Ferrocerium Rod (Spark Ignition)
Advantages
- Scraped with a sharp flint shard, broken glass, or a 90º knife spine, 1,500º F to 3,000º F sparks spontaneously combust to ignite tinder material.
- Sparks even in wet conditions.
- The average outdoors person will never wear a ferro rod out.
- Can ignite many tinder sources, even non-charred material.
- Beginner skill level needed to learn to use one.
- For more info on ferro rods, click here.
Disadvantages
- They are consumable.
C) Magnifying Len (Solar Ignition)
Advantages
- Beginner skill level. Ever drive ants crazy with one as a kid?
- Ignites different tinder materials.
- Saves other ignition devices on sunny days.
- Self-contained – no assembly required.
- Never wears out. Always protect your lens from scratches and breakage.
Disadvantages
- Depends on sunshine.
D) Sure Fire – Not an ignition device but…
I consider this item essential to every Next Fire kit!

InstaFire burning in the creek! No toxic chemicals in this sure fire.
I carry commercially made chemical-based sure fire starters as well as DiY sure fire. There is no such thing as cheating when it comes to making fire in an emergency scenario. Practice primitive but prepare modern!
Advantages
- Works with spark ignition or open flame.
- Burns several minutes.
- Burns when wet.
- Easy to ignite.
Disadvantages
- Sure fire is never a disadvantage.
D) Flint and Steel (Spark Ignition)
This primitive method may seem outdated or useless by some but I include it in my Next Fire kit because options in fire craft make us anti-fragile.
Advantages
- Lasts virtually forever.
- Any rock harder than the steel can drive sparks from the steel.
- That same rock can be used on the spine of a high carbon steel knife to ignite charred material.
- Intermediate skill level. Easy to use with prior practice.
- For more info on flint and steel, click here.
Disadvantages
- Sparks in the 800º F range – significantly less than ferro rods.
- Charred material or specific un-charred plant tinder are needed to catch sparks.
E) Charred Material
Partners with flint and steel but is works with solar ignition and ferro rods.
Advantages
- It only takes a spark to create an ember. Works with solar ignition too.
- Easy to make and use – even without a metal container.
- Any natural material (cloth or plant tinder) can be charred.
Disadvantages
- Must be dry to use
With the exception of the magnifying lens and flint and steel, the other devices mentioned are modern. I’m bypassing friction as an ignition source but will cover the basics of ancient fire craft later in this series.
None of the ignition devices, modern or primitive, will build a sustainable fire without a proper pyre (pronounced the same as fire) – a.k.a. fire lay.
No matter how you construct your pyre, these common denominators must be present for a fire to grow.
Like all living things, fire must eat to live.
The Meal Plan for Fires
Mistakes I’ve made and seen others make when practicing fire craft, even with open flame ignition sources, were more times than not due to poor preparation and taking short cuts. This is especially true with primitive methods. With only a small ember to ignite a tinder bundle, choose the most finely processed combustible natural material available.
The following three-meals-a-day analogy may help you feed your next fire.
Breakfast: Tinder
This meal is truly the most important meal in a fire’s life. To help the flames rise and shine, feed it what it loves… a hearty helping of fluffy, dry, dead plant material.
We eat grits for breakfast in the south. My Yankee friends eat other disgusting mush.
Like food, tinder varies by locale. Your job is to spend time Doing the Stuff to test different plant tinder and find the best local breakfast to feed your fire.
Plant tinder, when processed or broken down to create surface area, will accept a spark or small open flame from a match or lighter to produce fire. In the eastern woodlands, the Piedmont region of Georgia in my case, we have an abundance of plants and trees which can be processed (shredded) down to create tinder the size of hair stands.
It’s all about the surface area!
Some of my Georgia favorites I’ve had success with are…
- Tulip Poplar inner bark
- Red Cedar bark
- Cottonwood inner bark
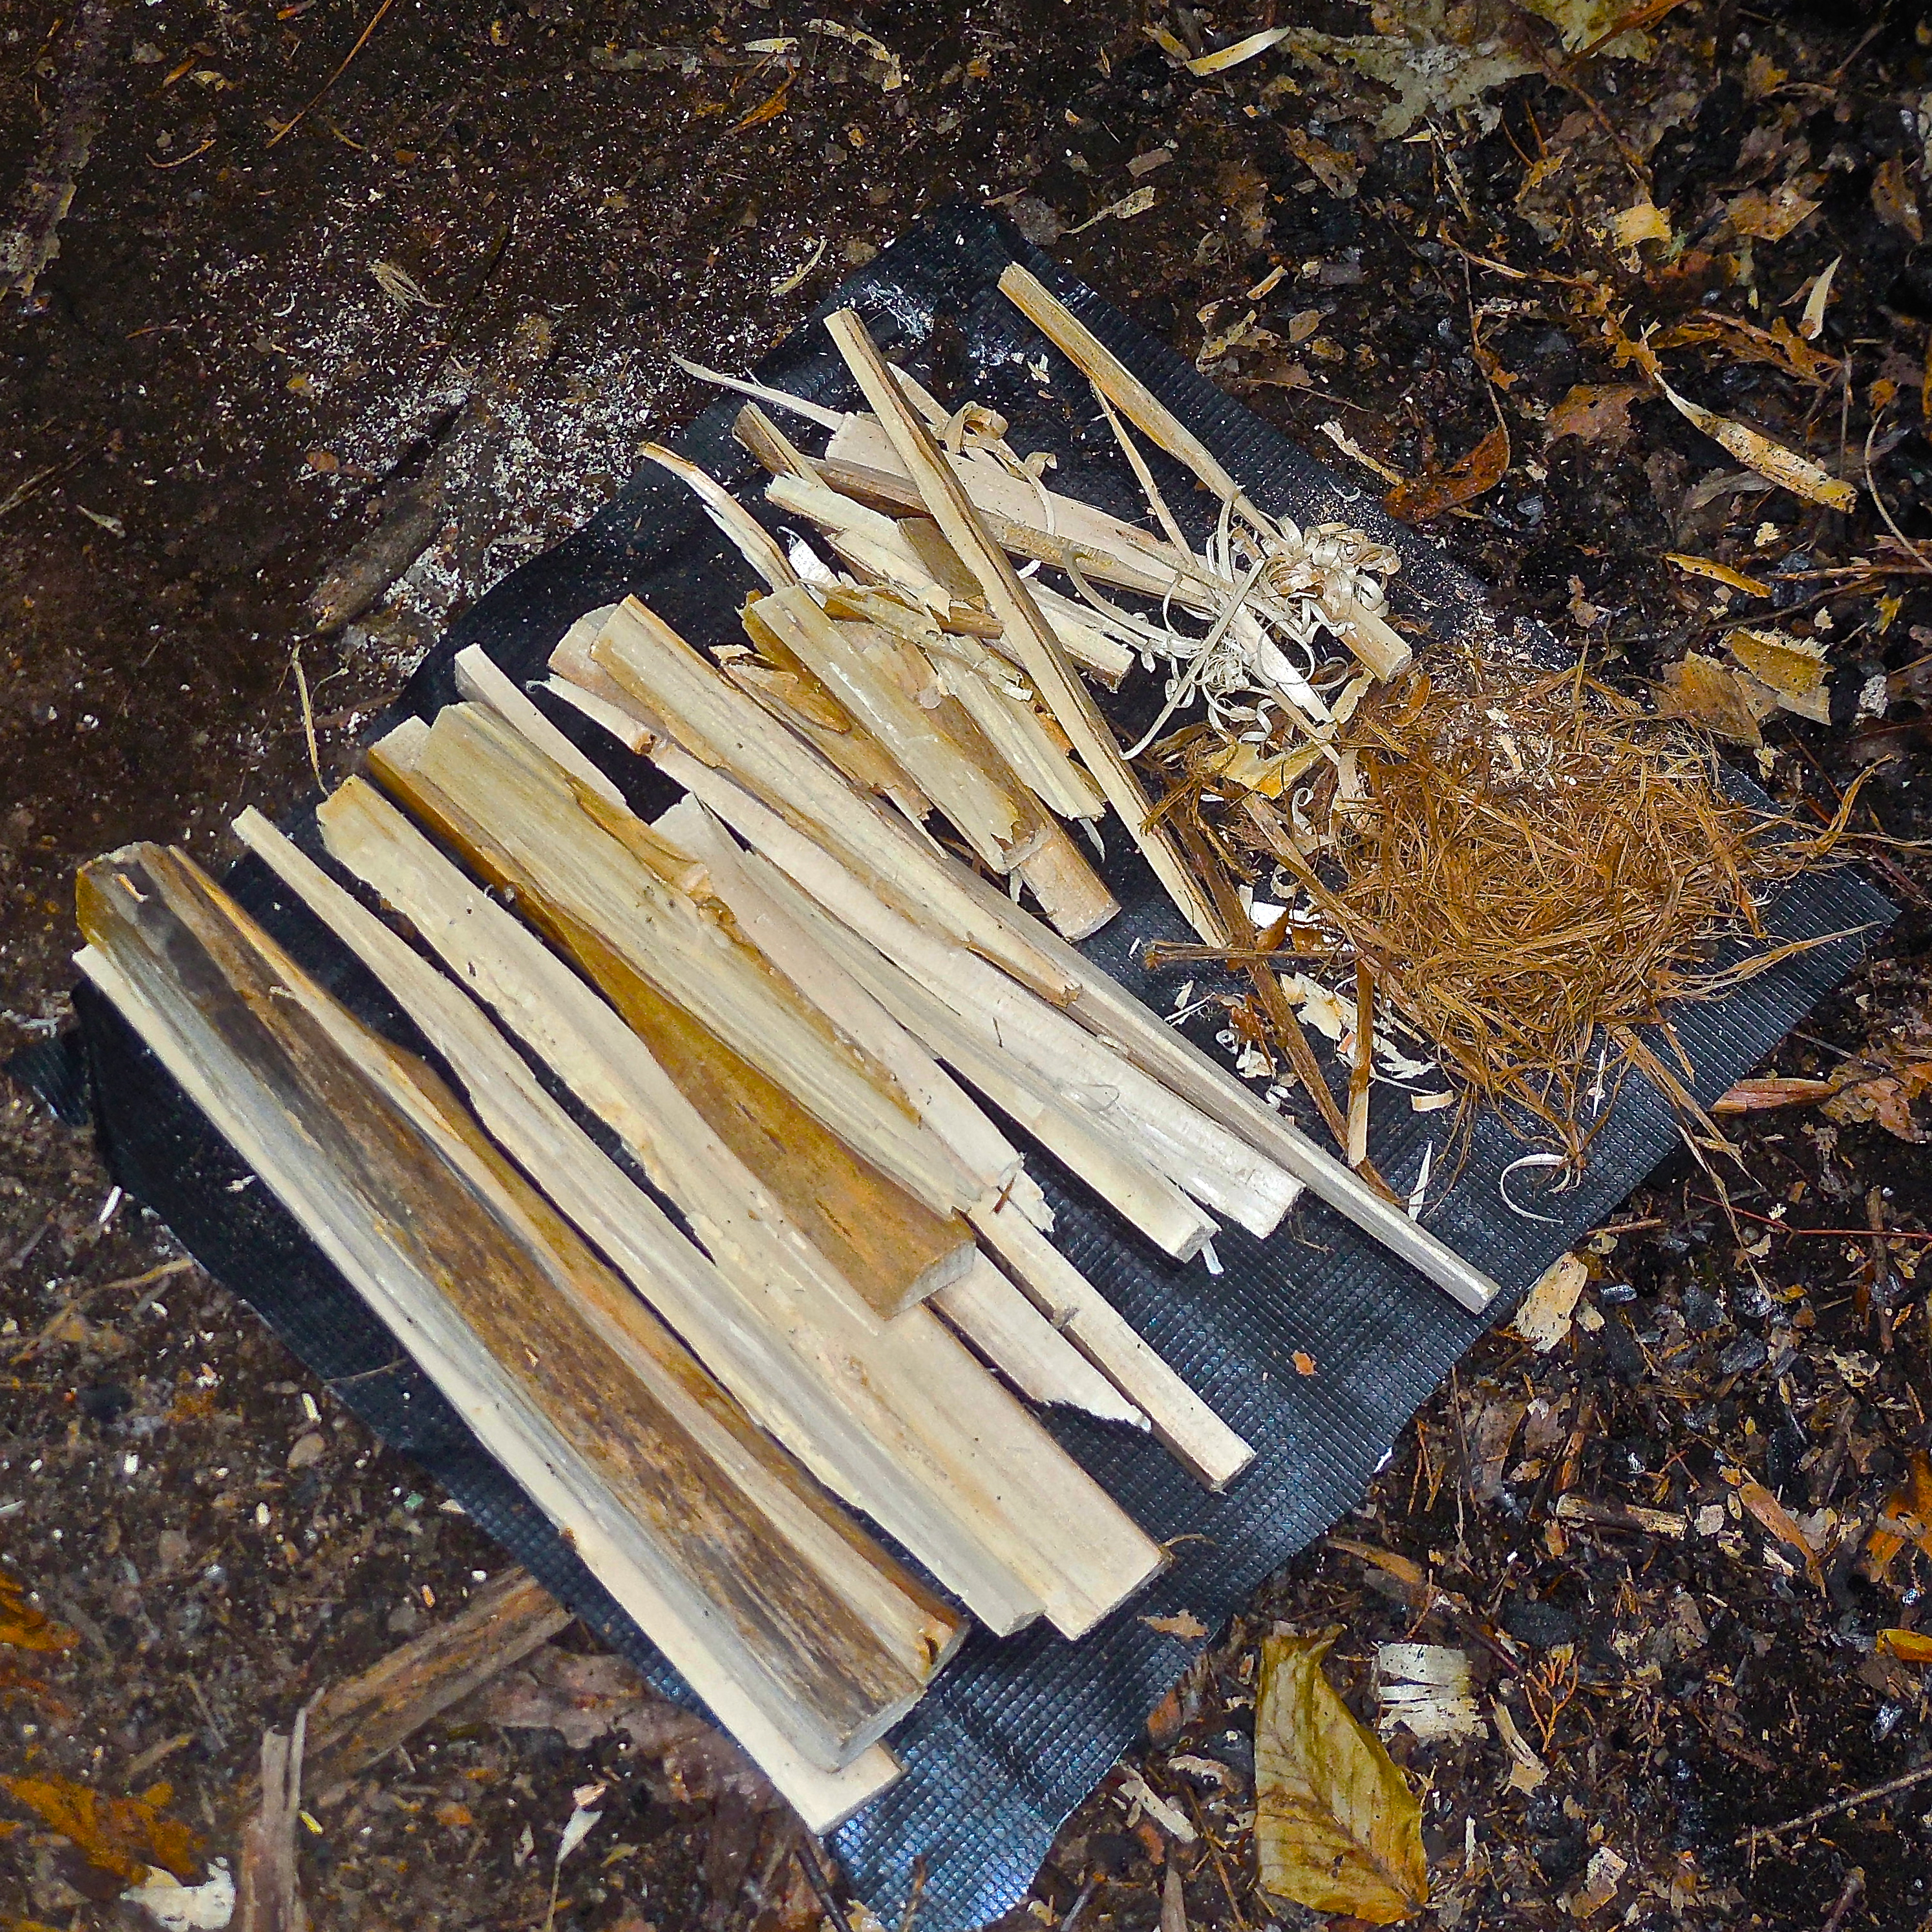
- Fat Lighter’d, fat lighter, lighter wood, non-Georgia natives call it fatwood (resin-rich dead pine stumps, knots, and limbs) – more fat lighter’d info here. Make a quarter-size pile of lighter’d shavings with the spine of your knife to create the Breakfast of Champions for any fire!

Fat lighter’d shavings lit with a ferro rod
- White fluffy stuff – cattail heads, dandelion clock, and Bull thistle gone to seed are a few flash tinder that flame up quickly and should be added to other substantial tinder material for longer burn times.
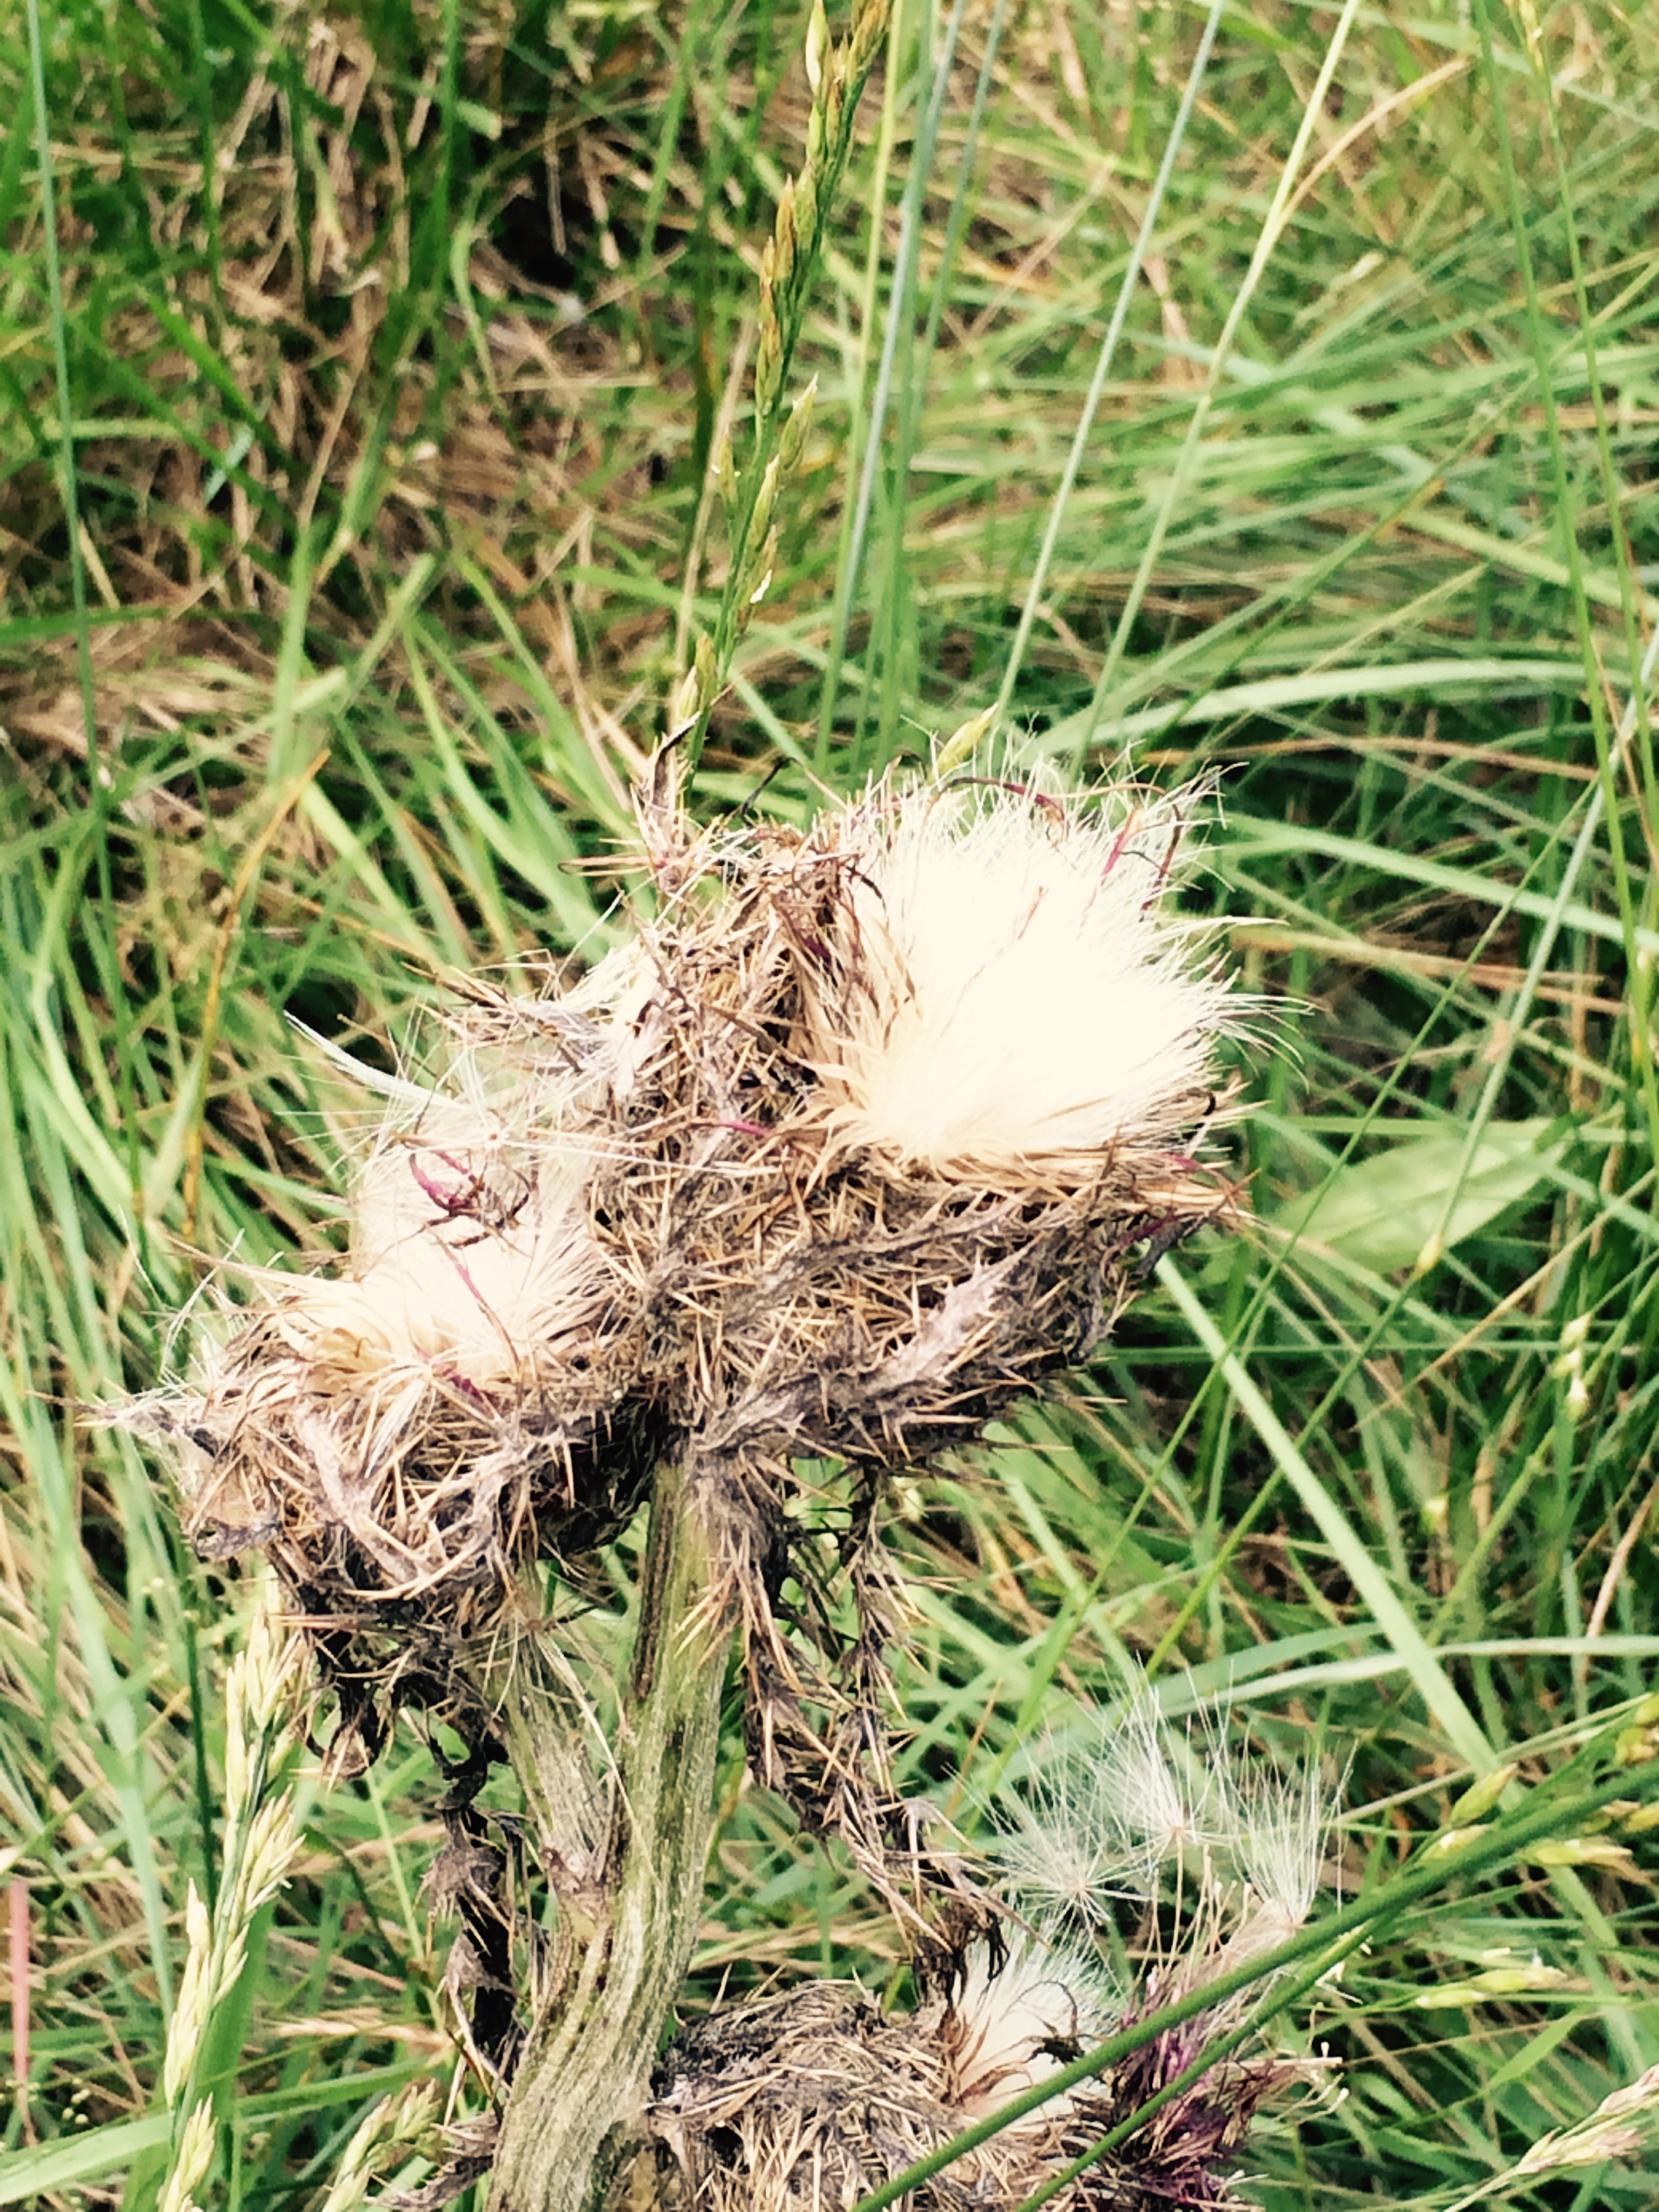
Flash tinder (Bull thistle)
- American Beech leaves die and hang around on branches well into spring just before new growth appears offering months of easy-to-reach seasonal tinder material.
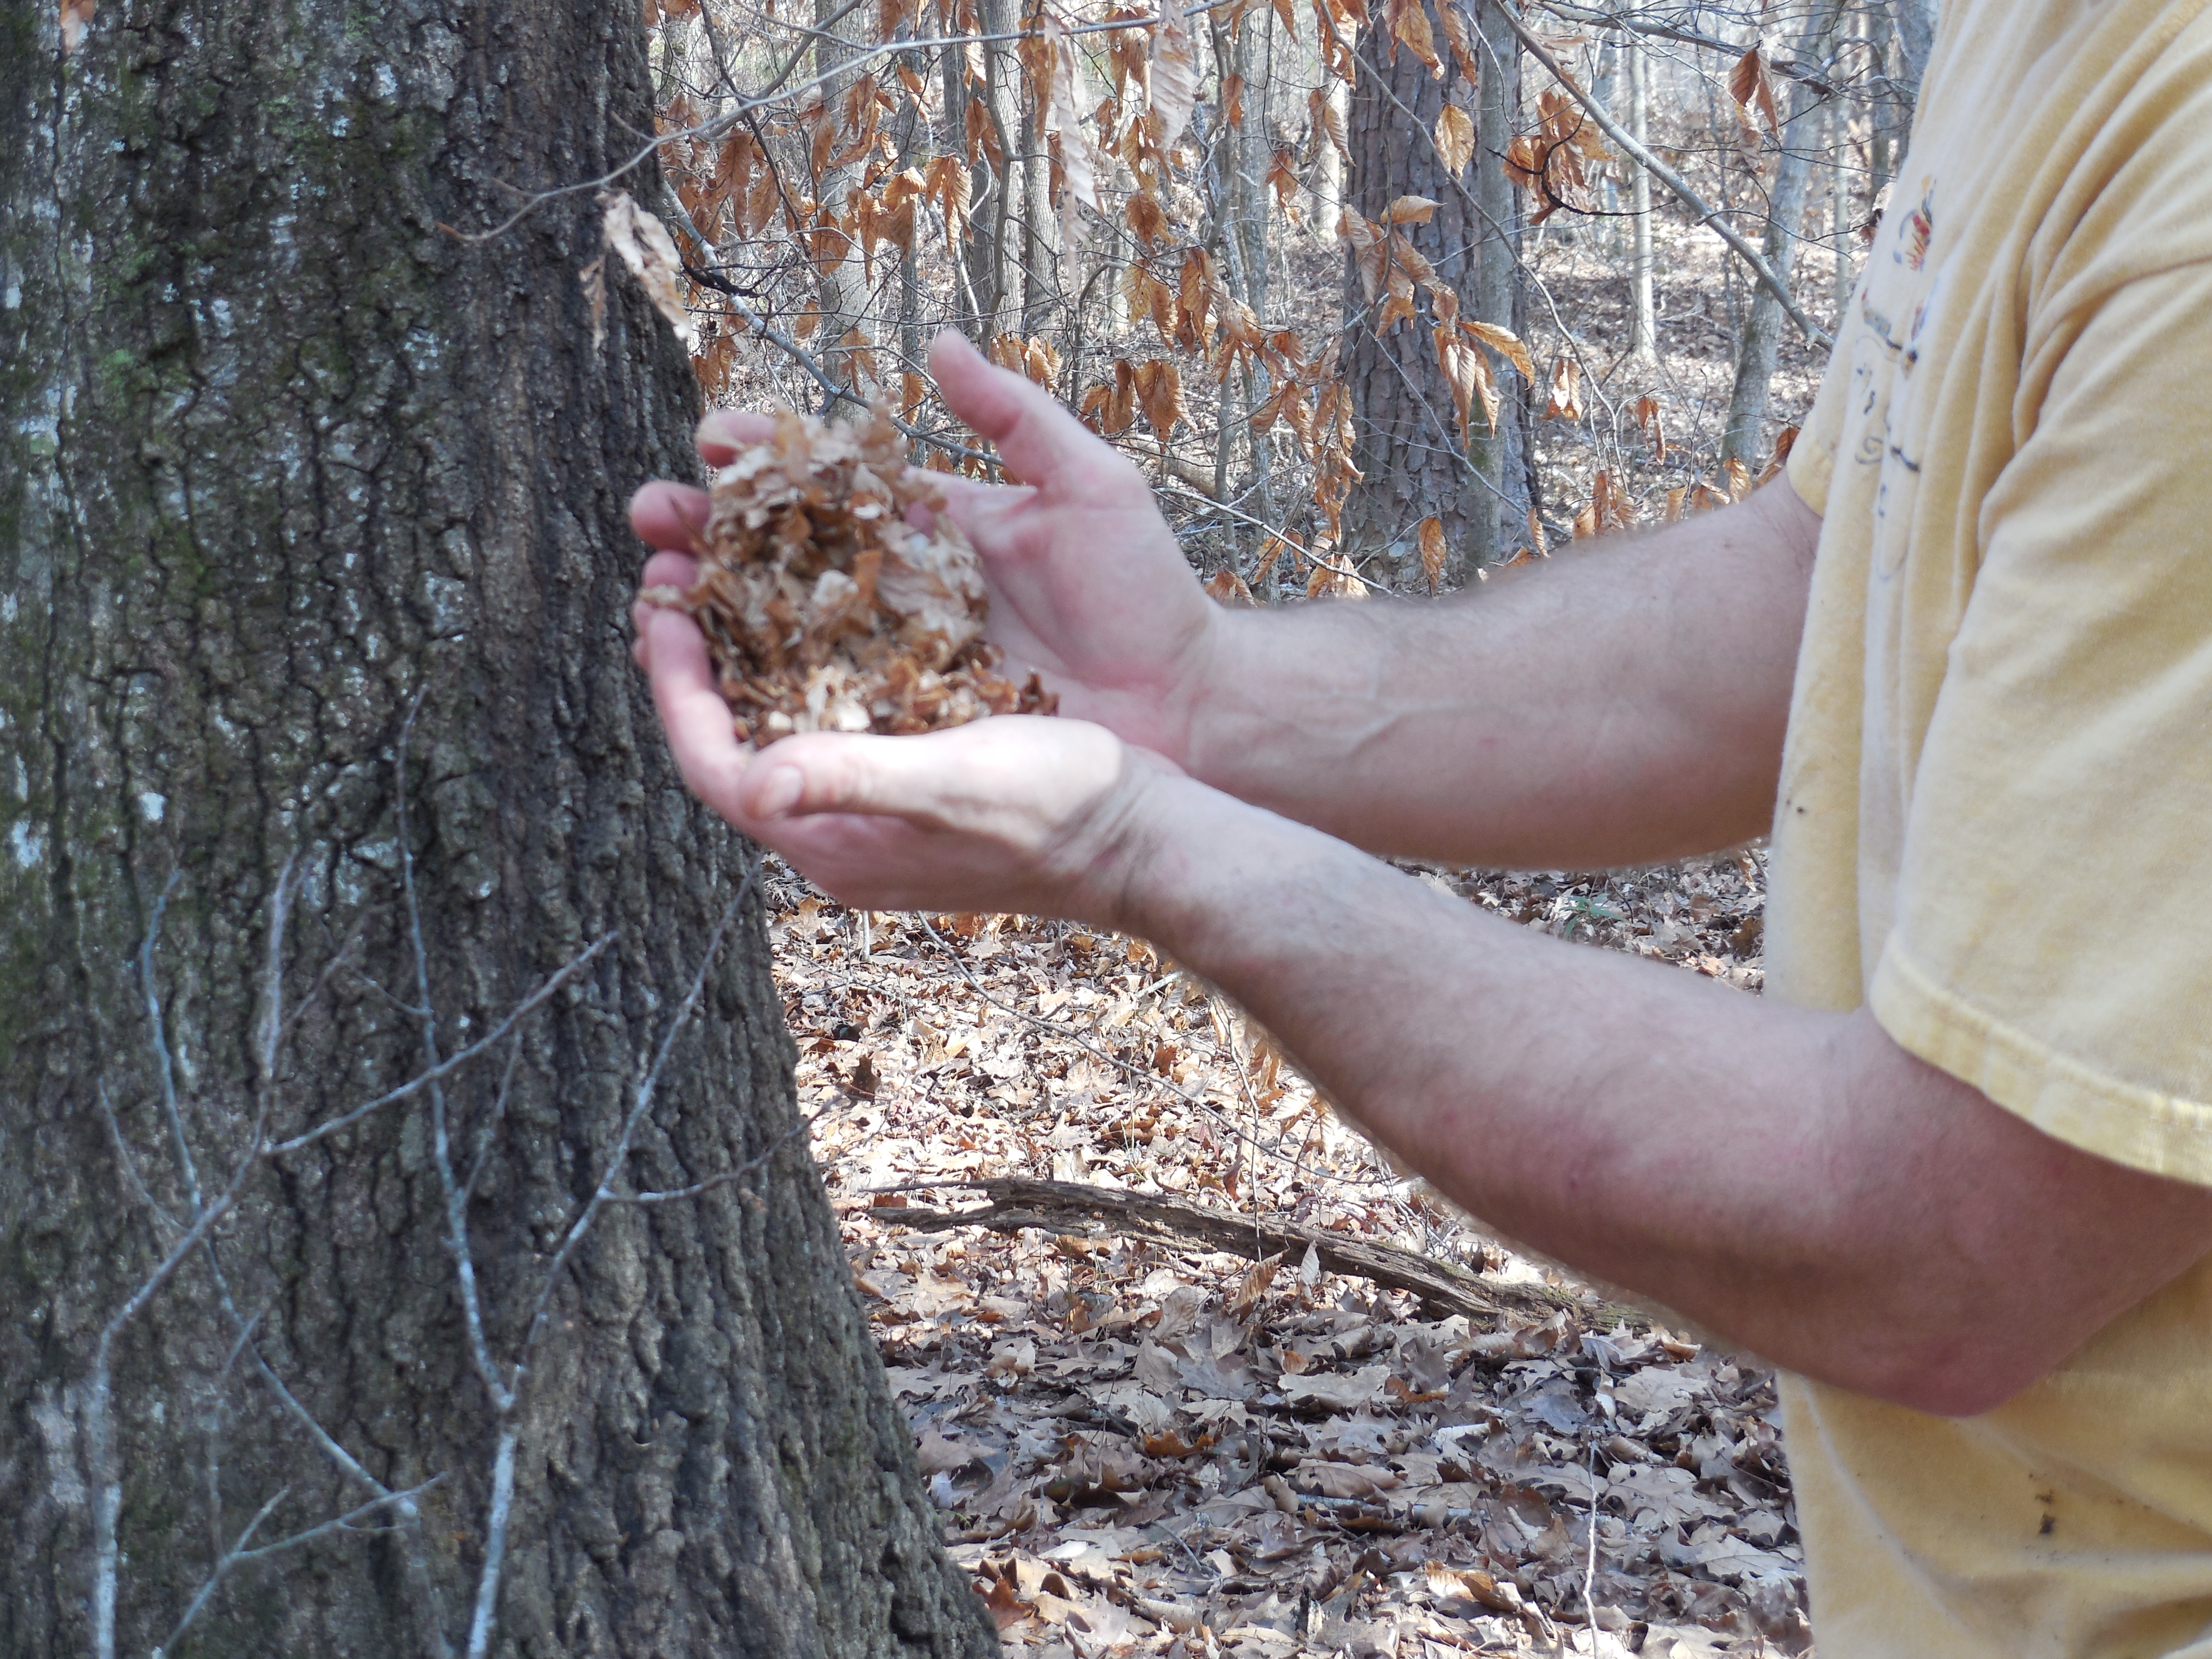
Beech tree leaves
- Pine needles – dead pine needles crushed and rolled (processed) in your hands will create nice bundles of tinder material. Look for mounds of pre-processed pine needles on roadside curbs courtesy of vehicle tires. Collect them and practice your backyard fire craft.
- Dry grasses (flash tinder) – I like to use broom sedge to form a tennis racquet shape with a handle to hold my finest tinder material. A word of caution on grasses in humid climates like Georgia… they tend to hold moisture. Harvest grasses that have died naturally and are as dry as possible.
- Black Sooty Mold – I first discovered this fire extender on American Beech trees and found it will take a spark from ferro rods and produces an ember via solar ignition. Click here for how to find and harvest this fire resource.
Lunch: Kindling
Nothing is more discouraging than watching your fire consume all its tinder and not eat the next meal… kindling. Your fire was hungry but didn’t like what you offered for lunch.
The best bet is to feed your fire the smallest and driest twigs available. This material is called “smalls” for a reason. Collect pencil-lead size to pencil-size material. The smaller the surface area the faster it reaches combustion temperature. If you have fat lighter’d or other resinous wood available, by all means, process it to use for kindling.
One 2 inch stick of poplar made this: L to R: Thumb, pencil, pencil lead, and bark tinder
If “smalls” are not available or rain-soaked, create them by splitting a larger stick or limb with your cutting tool. You’ll find dry, combustible wood inside larger dead wood. Click here for a tutorial on creating a One Stick Fire.
Now practice it in the rain…
Dinner: Fuel
After eating lunch (kindling), feed your fire progressively larger fuel. Finger-size up to the size of your wrist tops off your fire’s diet. Your fire will let you know when it is ready to eat more fuel when flames being licking up and through the pile of kindling. Add too much too soon and you’re in danger of choking the fire. Heimlich maneuvers must be performed to free air passages to nurse the fire back to life.
Fire loves chaos and randomness. However, fuel should be laid, not thrown, on top of young fires. As it grows and matures, kick back and let it eat.

Remember… fire is life out there but never automatic!
Keep Doing the Stuff of Self-Reliance,
Todd
P.S. – You can also keep up with the Stuff we’re Doing on Twitter, Pinterest, Google +, YouTube, Instagram, and Facebook… and over at the Doing the Stuff Network.
P.P.S – If you find value in our blog, Dirt Road Girl and I would appreciate your vote on Top Prepper Sites! You can vote daily by clicking here or on the image below. Check out all the other value-adding sites while you’re there…

Thanks for Sharing the Stuff!
Copyright: Content on this site (unless the work of a third-party) may be shared freely in digital form, in part or whole, for non-commercial use with a link back to this site crediting the author. All links in articles must remain intact as originally posted in order to be republished. If you are interested a third-party article, please contact the author directly for republishing information.


Excellent post! I’d like to share a video of a friction fire method I found on YouTube. It’s a little labor intensive to begin with but afterwards it’ll serve you for a good many fires to come.
LikeLiked by 1 person
I was thinking about this article today. Reflecting on what you said:
“Unfortunately, fire is not automatic in wilderness survival.”
This made me think of something Cody Lundin said one time that fire is an “art.” Both these claims are an absolute truth! Fire is not a guarantee in the wilderness and must be practiced like a profession to make any perfection.
I learned this the hard way as I went to brush up on my own woodscrafting/survival skills last month. Now, it had been hot and dry around here in upstate SC. But I gathered some dry leaves crushed them up and took some of the fiberous bark off of a Cedar tree. I used my magnesium ferro rod. Scraped off some shavings into the tinder and struck the ferro rod several times and couldn’t get it to light. The sun was going down and if it wouldn’t have been for the Bic in my pack I wouldn’t have had a fire…. I learned that day that Practicing and perfecting fire craft is essential.
LikeLike
Practice primitive but prepare modern. Thankfully you had that covered John!
LikeLike
There are words to describe people who think they know more than mother nature and go afield without a backup plan. Cold, wet and hungry are at the top of the list. Cheers!
LikeLiked by 1 person
I’ve only seen Jim Kane do this before on Pilgrims Bushcraft. Thanks for sharing, John!
LikeLike
One of my favorite topics to write about! I will say that are two down sides to sure fire- 1) shelf life can be quite short once out of its package, and 2) people who rely on sure fire too often fail to recreate the difficult fire scenarios that need to be practiced.
Great article as always!
LikeLiked by 2 people
Thank you, bud!
You’re right about sure fire, Joshua. I only use when there are no other options. My wax-soaked jute twine is my fav diy sure fire. I has no chemicals but has served me well over the years.
Good to have you stop by and weigh in!
LikeLike
Pingback: Bombproof Fire Craft: Build a “Next Fire” Kit that Cheats Death | Bsn Global News
An inspirational survival post !
LikeLiked by 1 person
Appreciate your kind words, WTB!
LikeLiked by 1 person
Reblogged this on The Survival Library.
LikeLike
Awesome read, Todd! Love the “Breakfast, Lunch, Dinner” concept! Great way to teach kids! 🙂
Rock on, brother!
LikeLike
Ah man, thank you Patrick! Gotta let that fire eat! Hope to talk to you today.
LikeLike
Pingback: Bombproof Fire Craft: 8 Unorthodox Fire Resources Hidden in Your 10 Piece Kit | Survival Sherpa
Pingback: The Beginner’s Step by Step Guide to Bow Drill Fire Craft | Survival Sherpa
Pingback: Best Practices for Your Third Most Critical Survival Priority | Survival Sherpa
Pingback: How to Build 4 Down-N-Dirty Campfires | Survival Sherpa
Pingback: Dragon Fire Tinderbox: The Secret of Pyro Super Heroes | Survival Sherpa
Pingback: 3 Skills that Cover a Multitude of Survival Sins | Survival Sherpa
Pingback: 3 Skills that Cover a Multitude of Survival Sins | North Carolina Pockets of Resistance
Pingback: How to Build 4 Down-N-Dirty Campfires | Redrock Outdoors Life
Pingback: Best Practices for Your Third Most Critical Survival Priority - Prepper Ways
Pingback: Camp Craft Challenge: The One Billet Boil Up | Survival Sherpa
Pingback: A Beginner’s Guide to Avoiding Bloated Bushcraft | Survival Sherpa
Pingback: A Beginner’s Guide to Avoiding Bloated Bushcraft | Prepper's Survival Homestead
Pingback: Create an Emergency Life Saving Fire Starting Kit Box | The Homestead Survival
Pingback: Backcountry Belt Kit: Essential Tools to Carry Around Your Waist | Survival Sherpa
Pingback: Emergency Fire Kits: Can a Five-Year-Old Use It? | Survival Sherpa
Pingback: Tips and Tricks on Hand Drill Fire Starting | Survival Sherpa
Pingback: Survival Times: A Winter Survival Skill Where Speed Counts | Survival Sherpa
Pingback: 3 Essential EDC Fire Starters I Carry Everywhere | Survival Sherpa
Pingback: Campfires From Scratch: No Boy Scout Juice Required | Survival Sherpa
Getting all mathematical, the ratio of surface area to volume makes all the difference. The greater the surface area for a given volume makes it light much easier due to the greater ease of raising the tinder to ignition temperature.
The lifespan of a spark from a ferro rod is pretty short, but it is long enough to raise fine tinder to it’s ignition point. You could hold a Bic to a 4 inch diameter log for minutes and it would not ignite, but a short lived spark from the flint of that same Bic will ignite a cotton ball easily. The fine fibers of the cotton ball will be raised to ignition temperature by that spark.
Fire needs fuel, heat, and oxygen. Moisture robs tinder of one of the three things required for a fire and that is heat. Until the water is gone the tinder will not get past the boiling point of water which is much lower than the ignition point for tinder.
LikeLike
Now you’re speaking my language, Frank! Very well stated, sir. I’ve been explaining this concept to our students in Science class as well as allowing them to test the concept with hands-on fire starting in the outdoor classroom. You’re explanations are excellent. Thanks for contributing some extra value to the conversation!
LikeLike
Pingback: Put Together a Fire Building Survival Kit | The Homestead Survival
Pingback: How to Put Together a Good Fire Starter Kit | The Homestead Survival
Pingback: Our First Year of Building Self-Reliance Skills at RISE Academy | Survival Sherpa
Pingback: Making Fire: The ULTIMATE Guide - Southern Dreams Homestead