
by Todd Walker

Memorial Day ’23 was my last update. Why has it taken 6 months to go from ten logs high to the finial 13th row? Well, nothing is easy about building a log cabin from scratch off the land.
This journey is traveling at Todd-Speed, which is slow but steady.
Getting the crew together is a challenge during the Christmas season. We’re all busy with family gatherings, company parties, and holiday stuff. However, the skeleton crew showed up and finished the log walls in two days. Thank you all for making it happen!
Stacking Logs
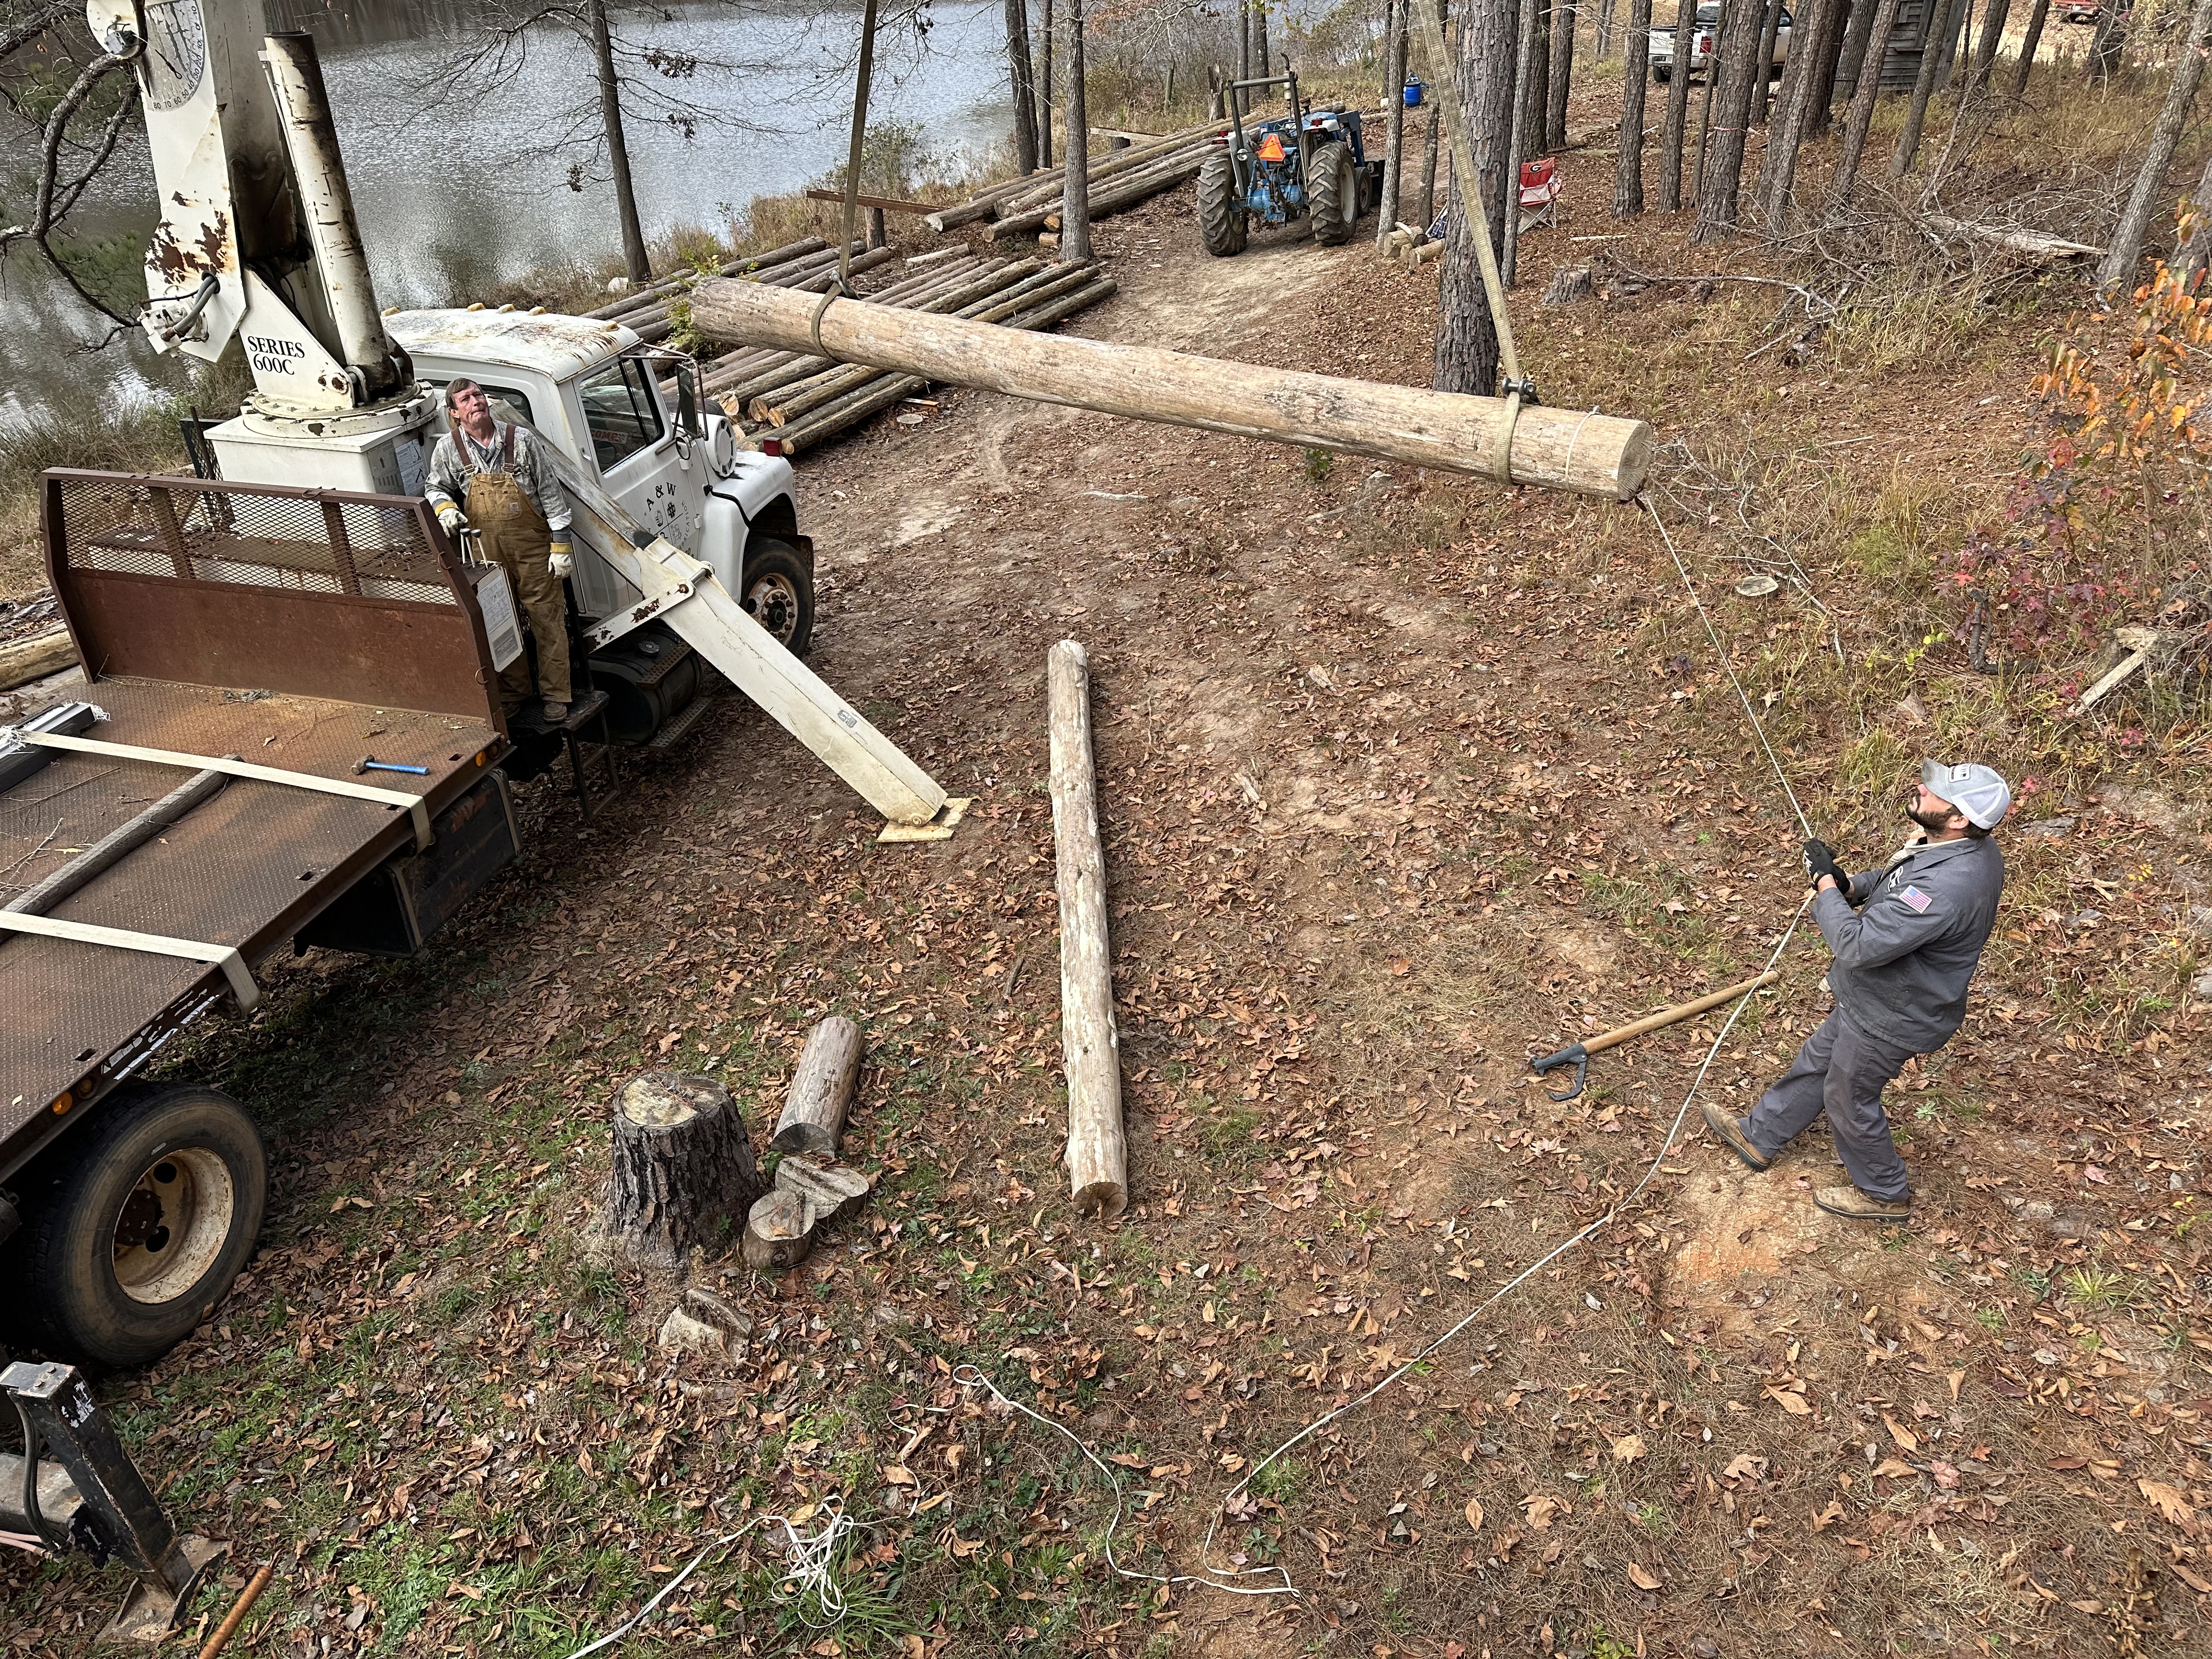
The girder pole was pinned perpendicular at the midway point on top of the 10th row at our last stacking party. This log gives stability to the 32 foot long log walls. It will also be used to build the loft floor eventually.
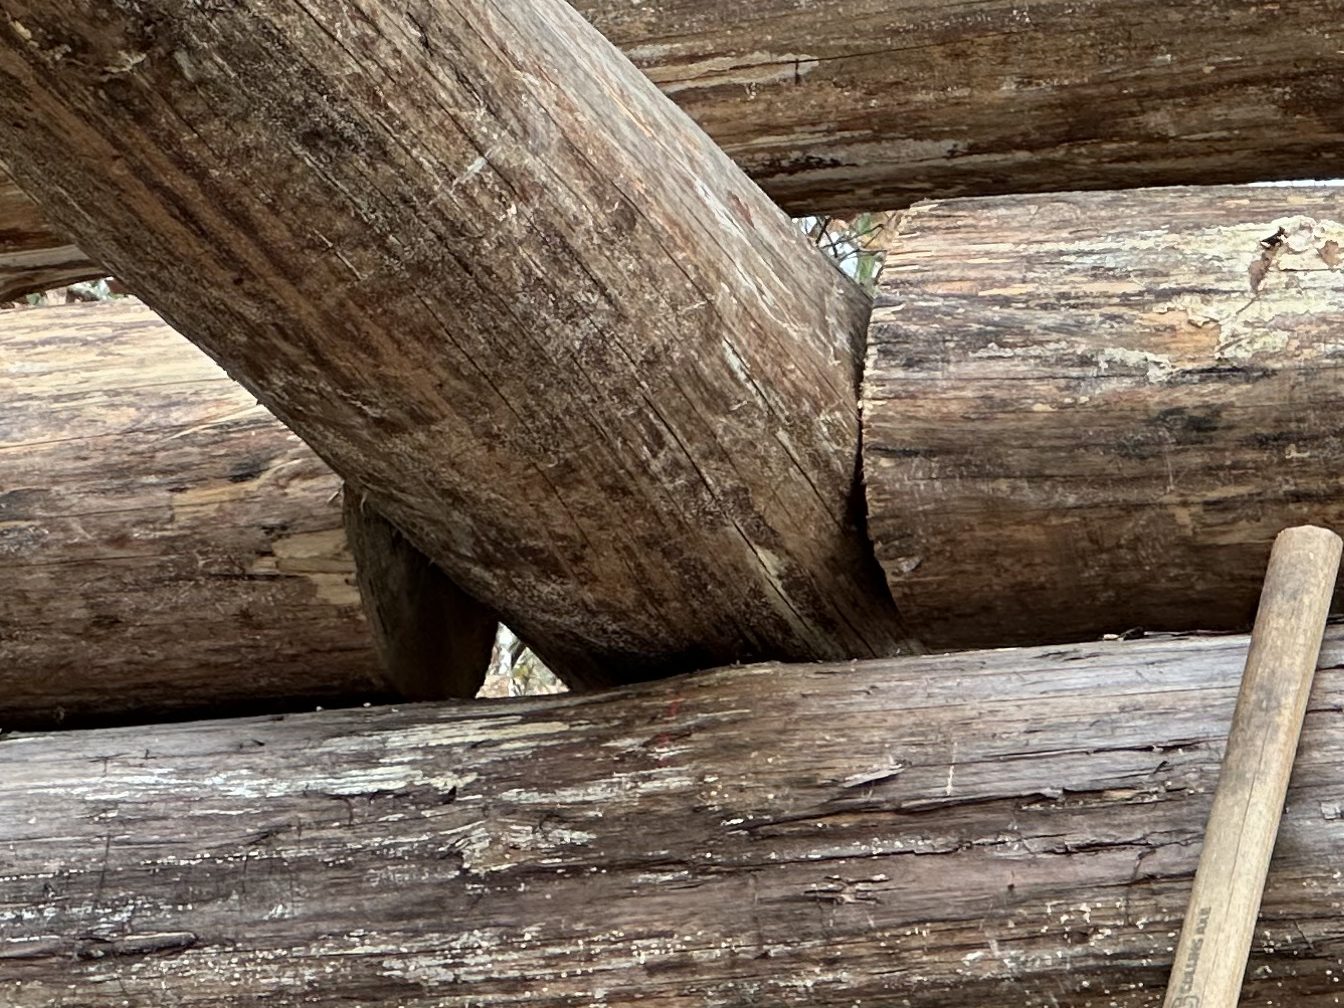
The photo above shows how the half-logs were butted and pinned to the girder log. I was happy at how the logs matched height wise for the next course of logs.
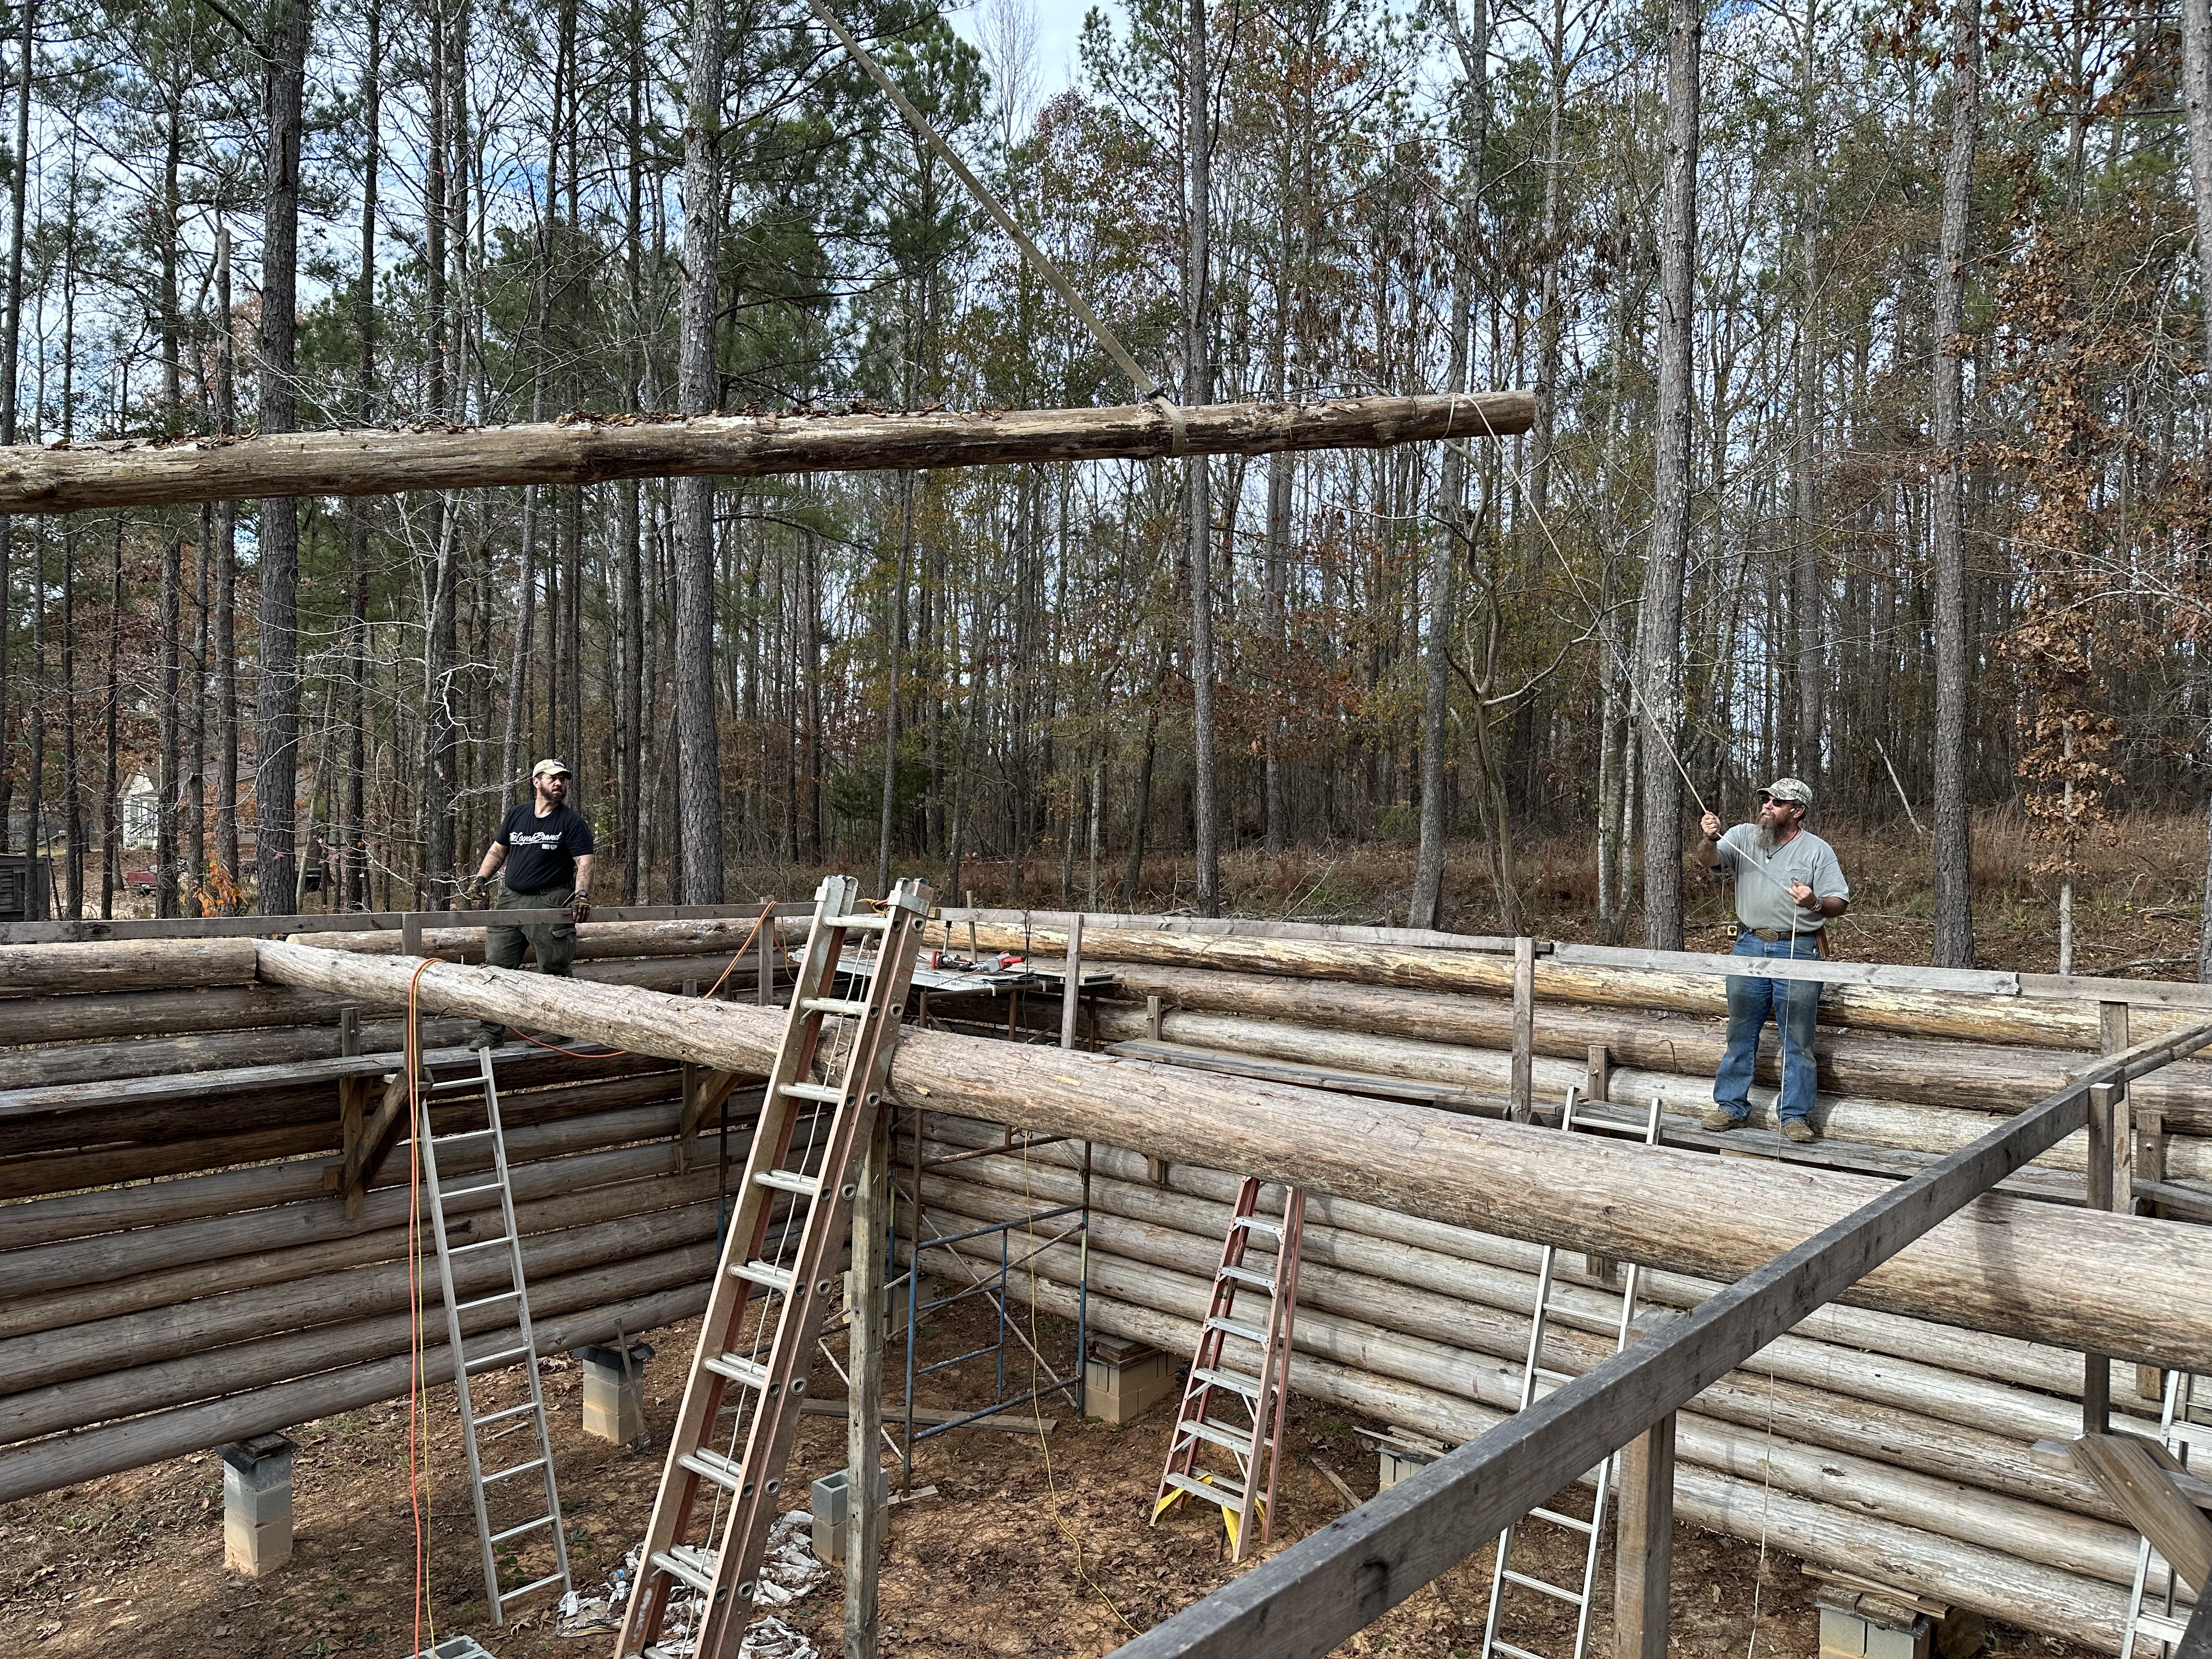
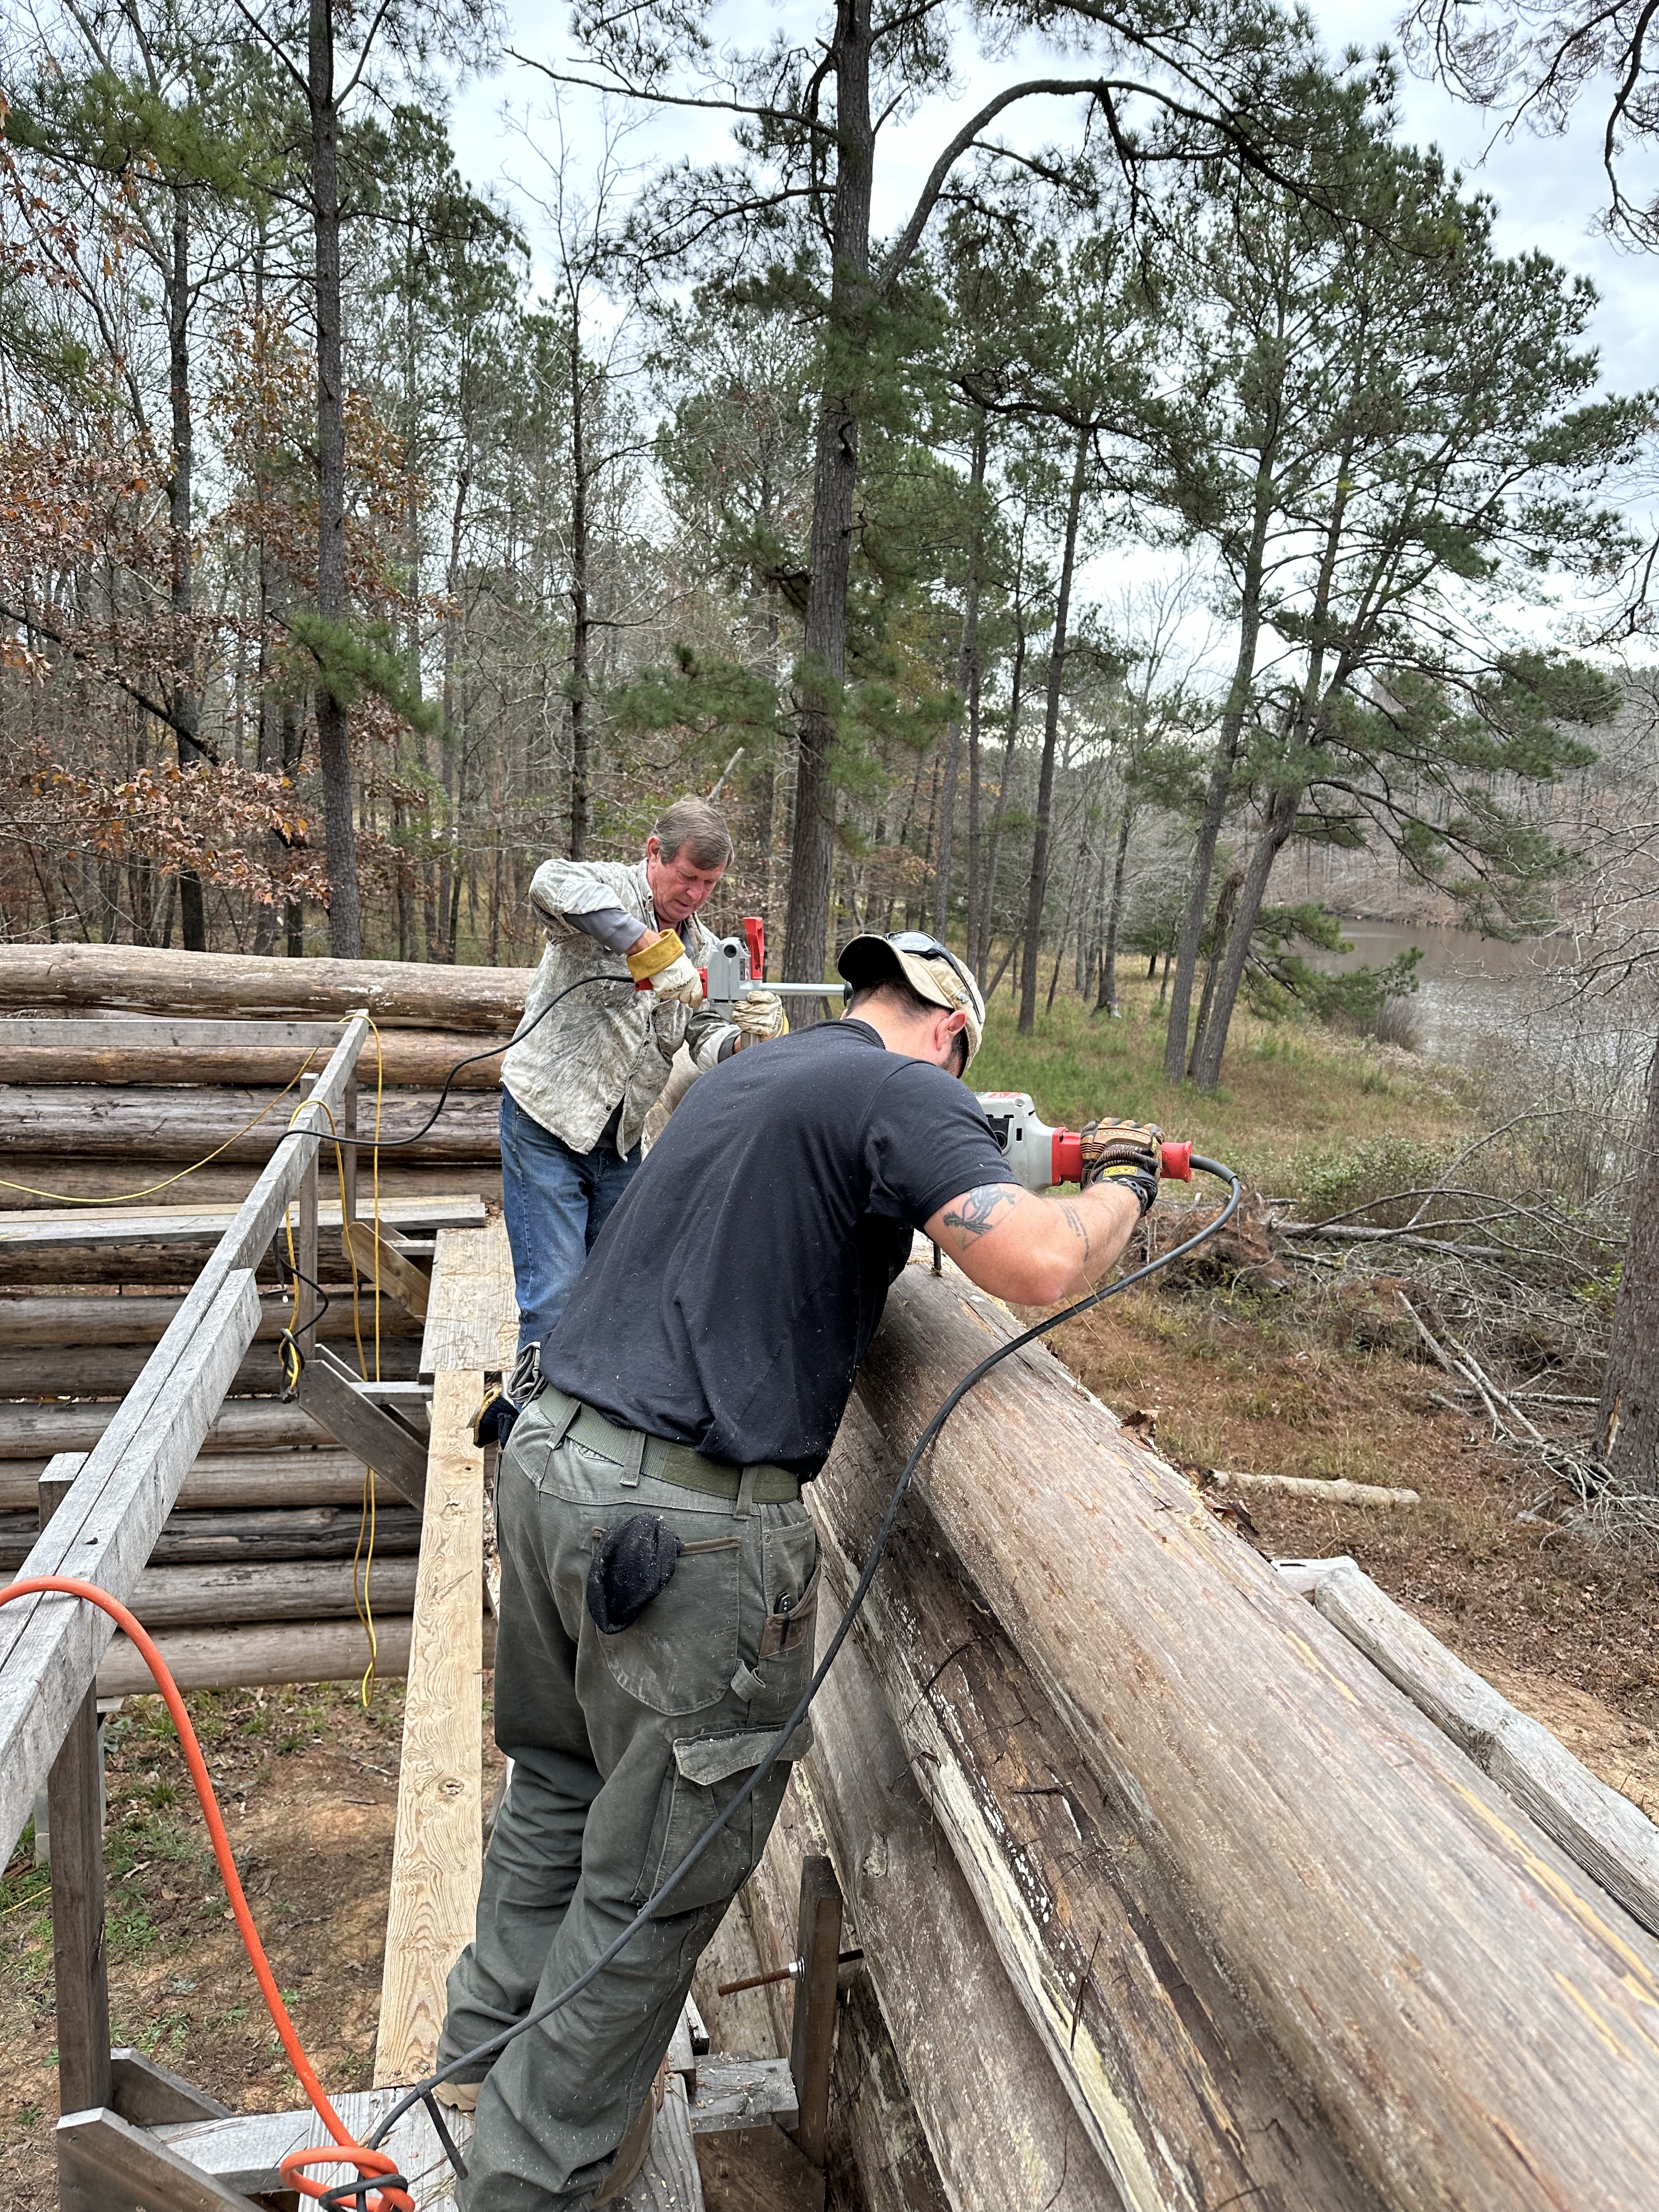
The scaffold system I built this summer allowed us to reach the last three rows much better (safer) than using ladders. We drilled and pinned each log after DJ expertly placed and held the log steady from the boom truck.
There were a few logs we had to roll while suspended to tighten the gap with the log underneath. To do this, we would lower and rest the strapped log over the adjacent log wall creating a triangle, loosen the crane cable, and rotate the straps 90 degrees. Lifting the log again would spin the log as desired.
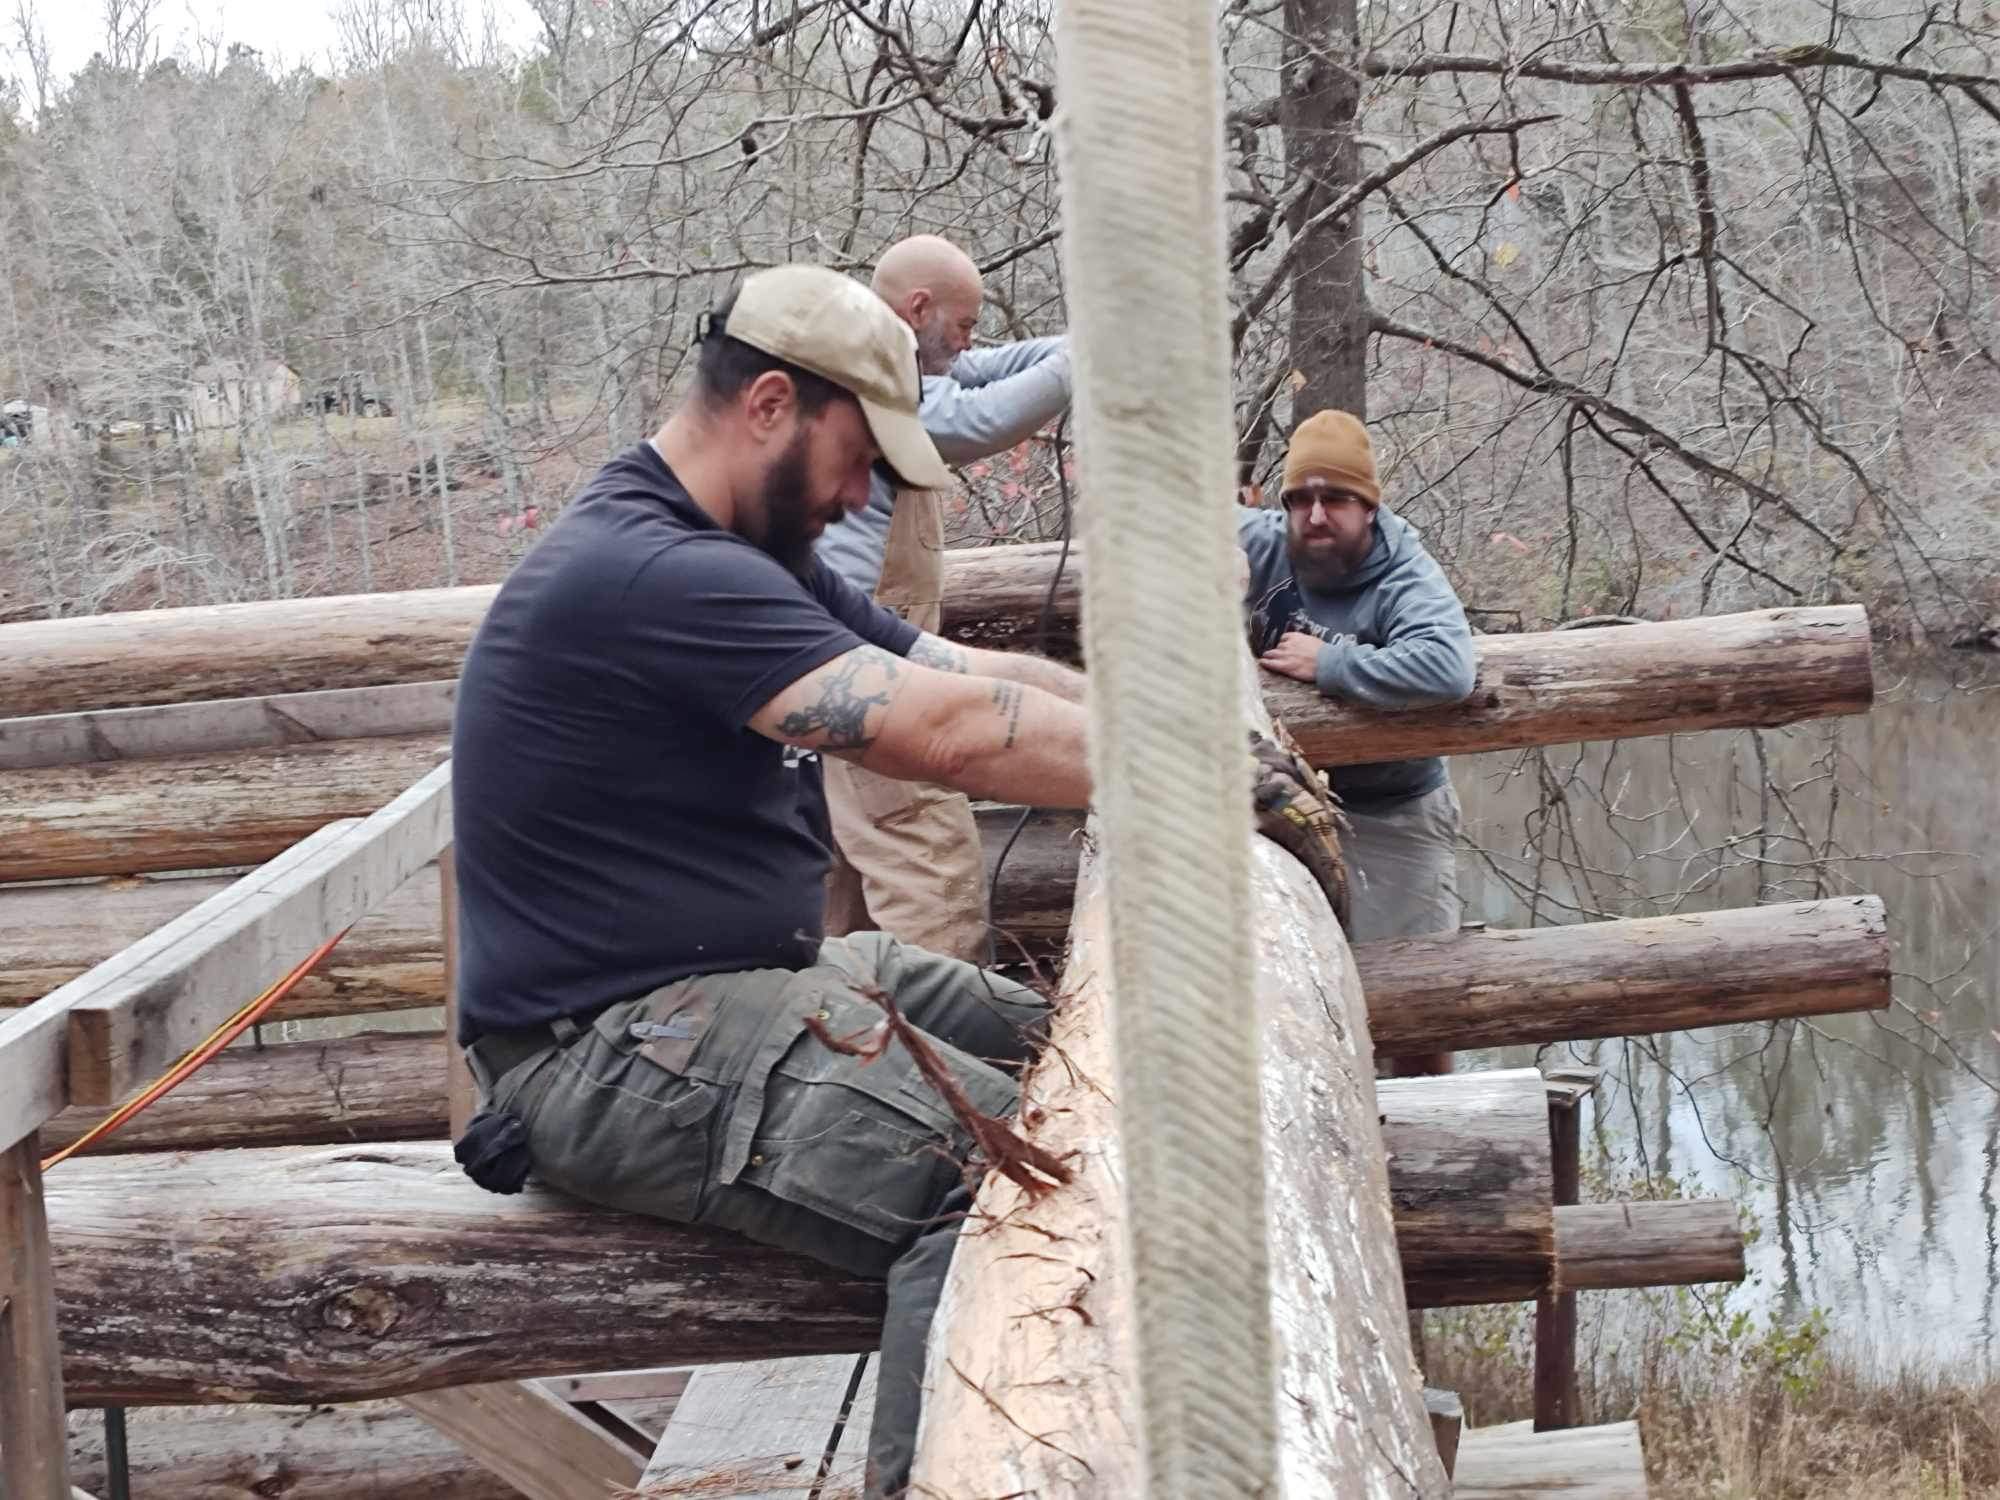
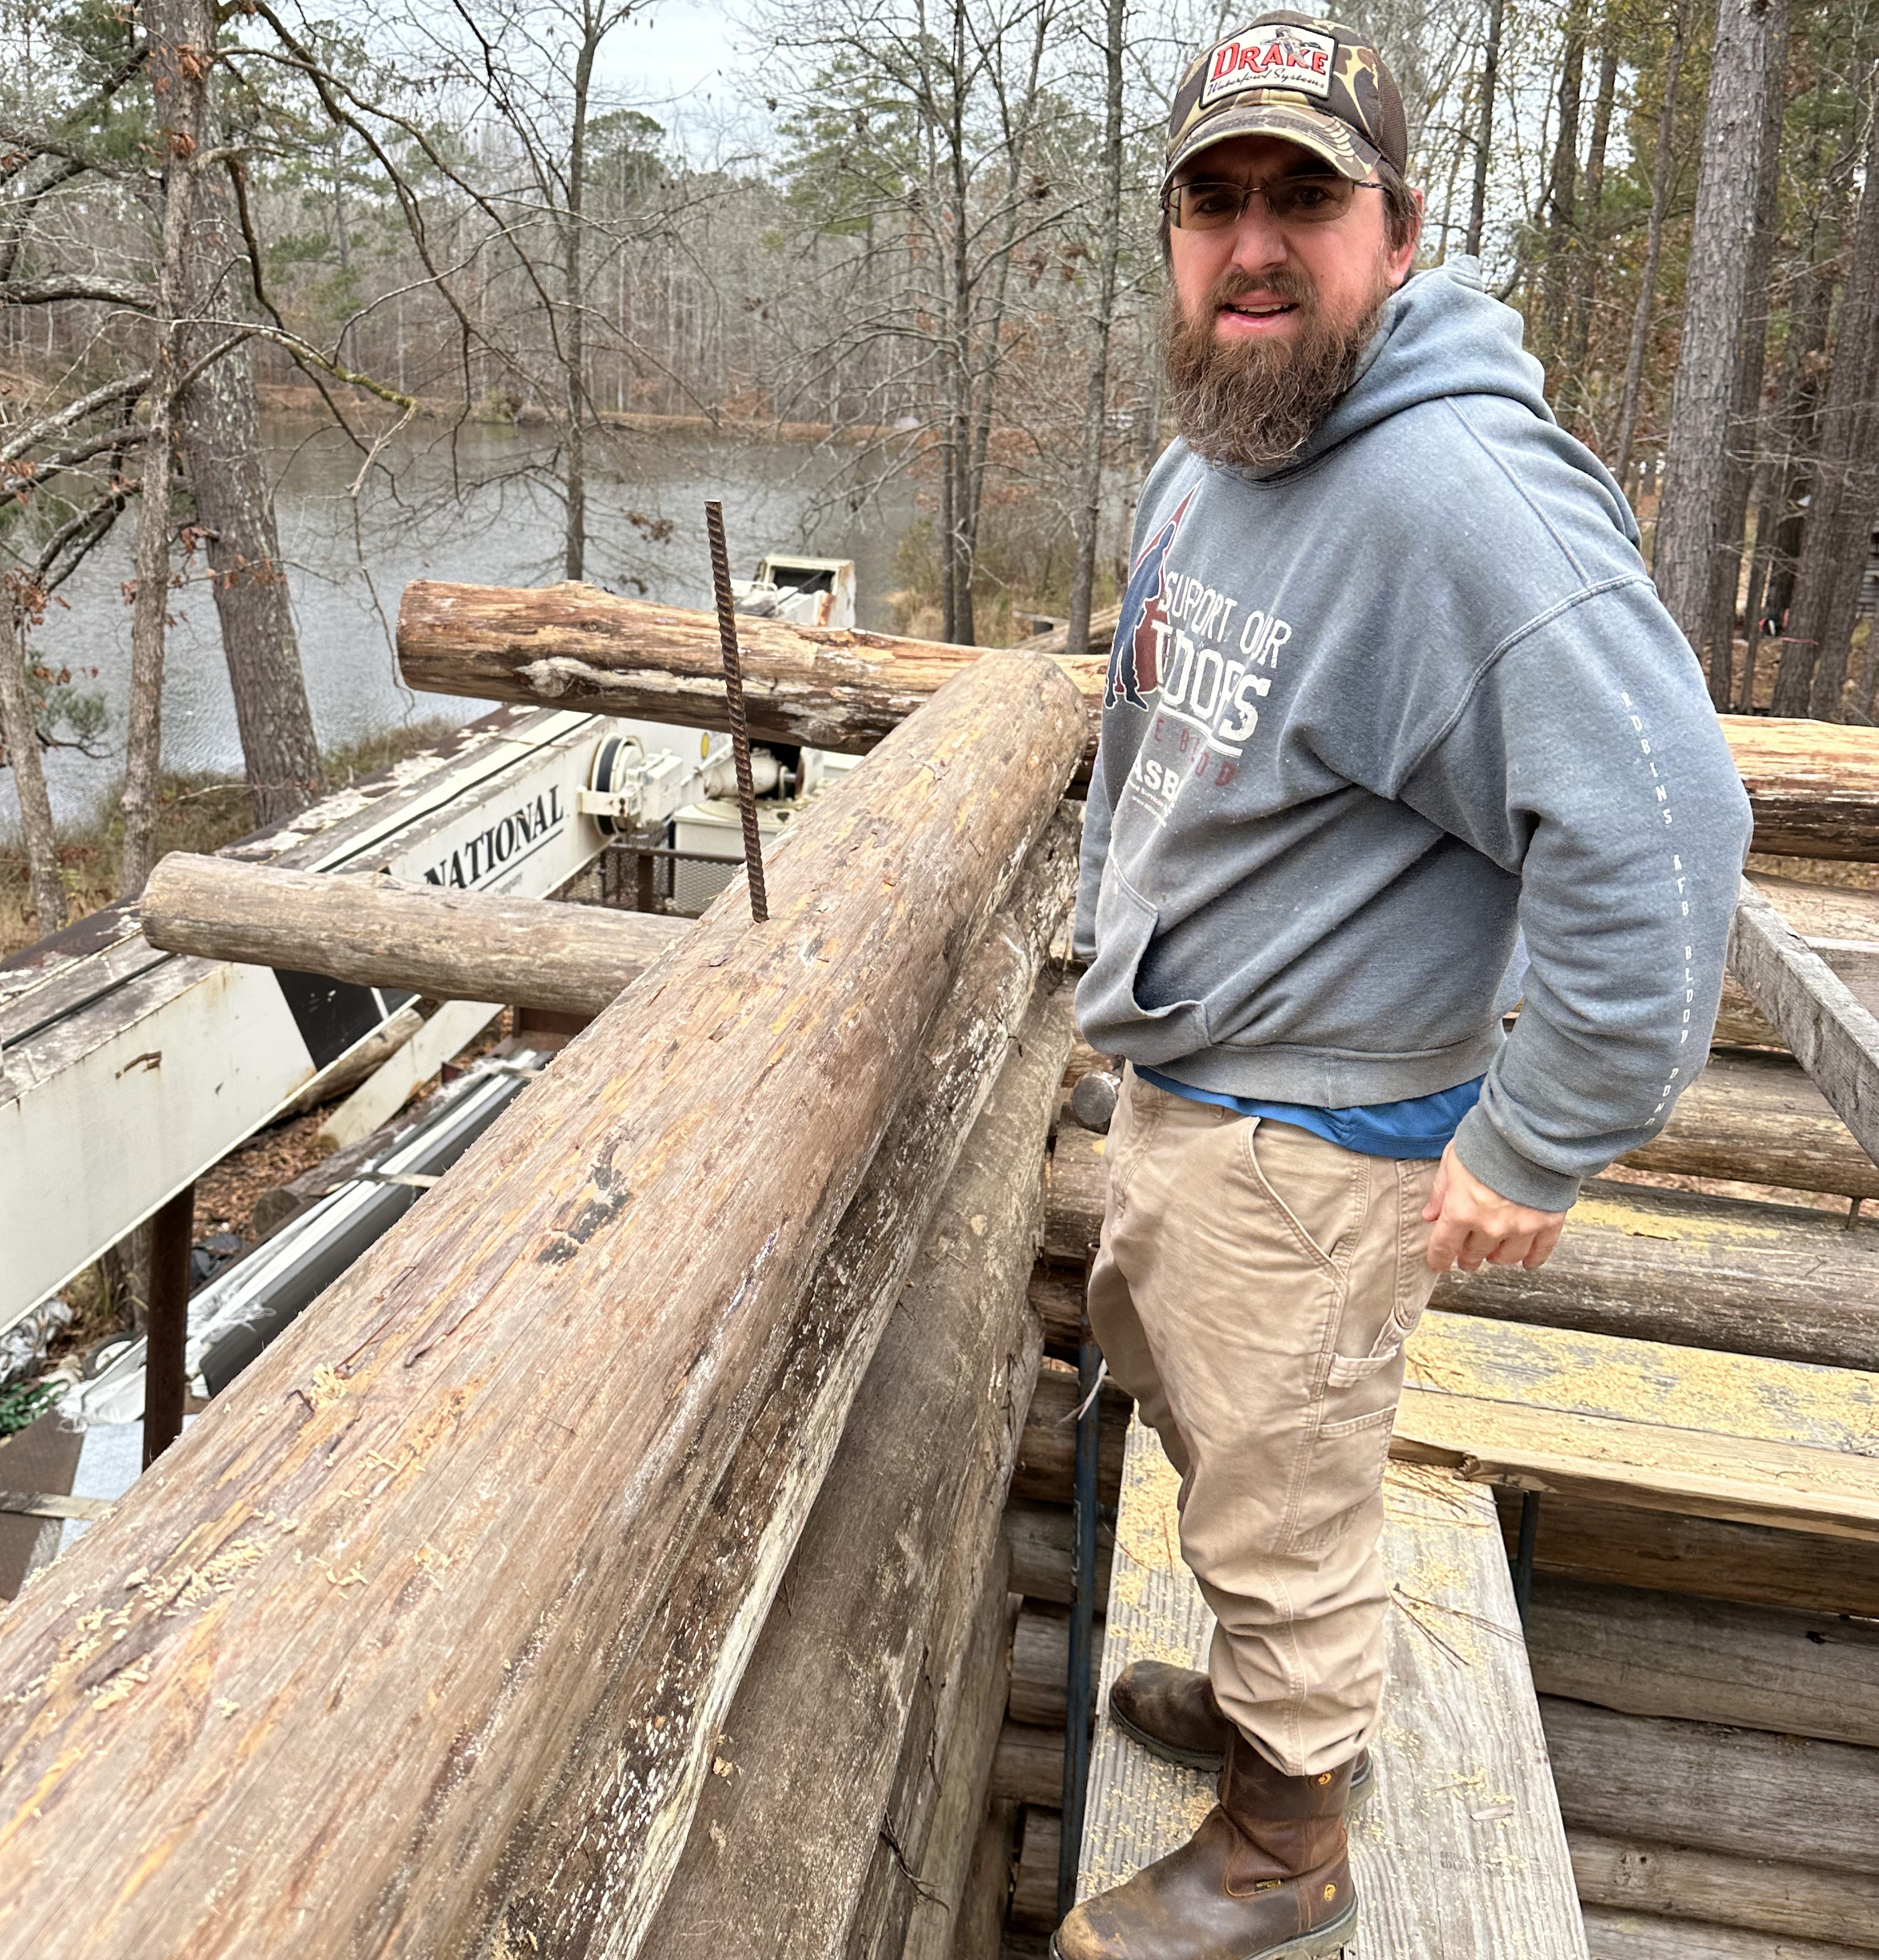
Hammering Rebar Stakes
This is the time in the process where personal tensions get released.
Building with Carrots
In my log cabin classes, I often joke about building with carrots. That’s exactly how this works, though. Each log has a big and small end. Matching their size at each butt and pass joint is challenging.
For instance, I had a large diameter log (16 inches) labeled for the top row. Woody and I decided that it would work even though it would be 6 inches taller than the log it was suppose to butt against. Since I was tired and ready to finish the last row, I figured chinking would just have to fill the unusually large gap on these corners.
We rigged and placed this monster log on the front wall. Nope. Not going to work. I didn’t like the size of the corner gap this log would create. We lowered the log and returned it to the landing to be milled for lumber.
Luckily I had just enough logs on to make adjustments. I replaced the monster with a log I had designated as a Ridge Pole Support Log. This decision will create “normal” gaps on the last row, making me a happy log cabin builder.
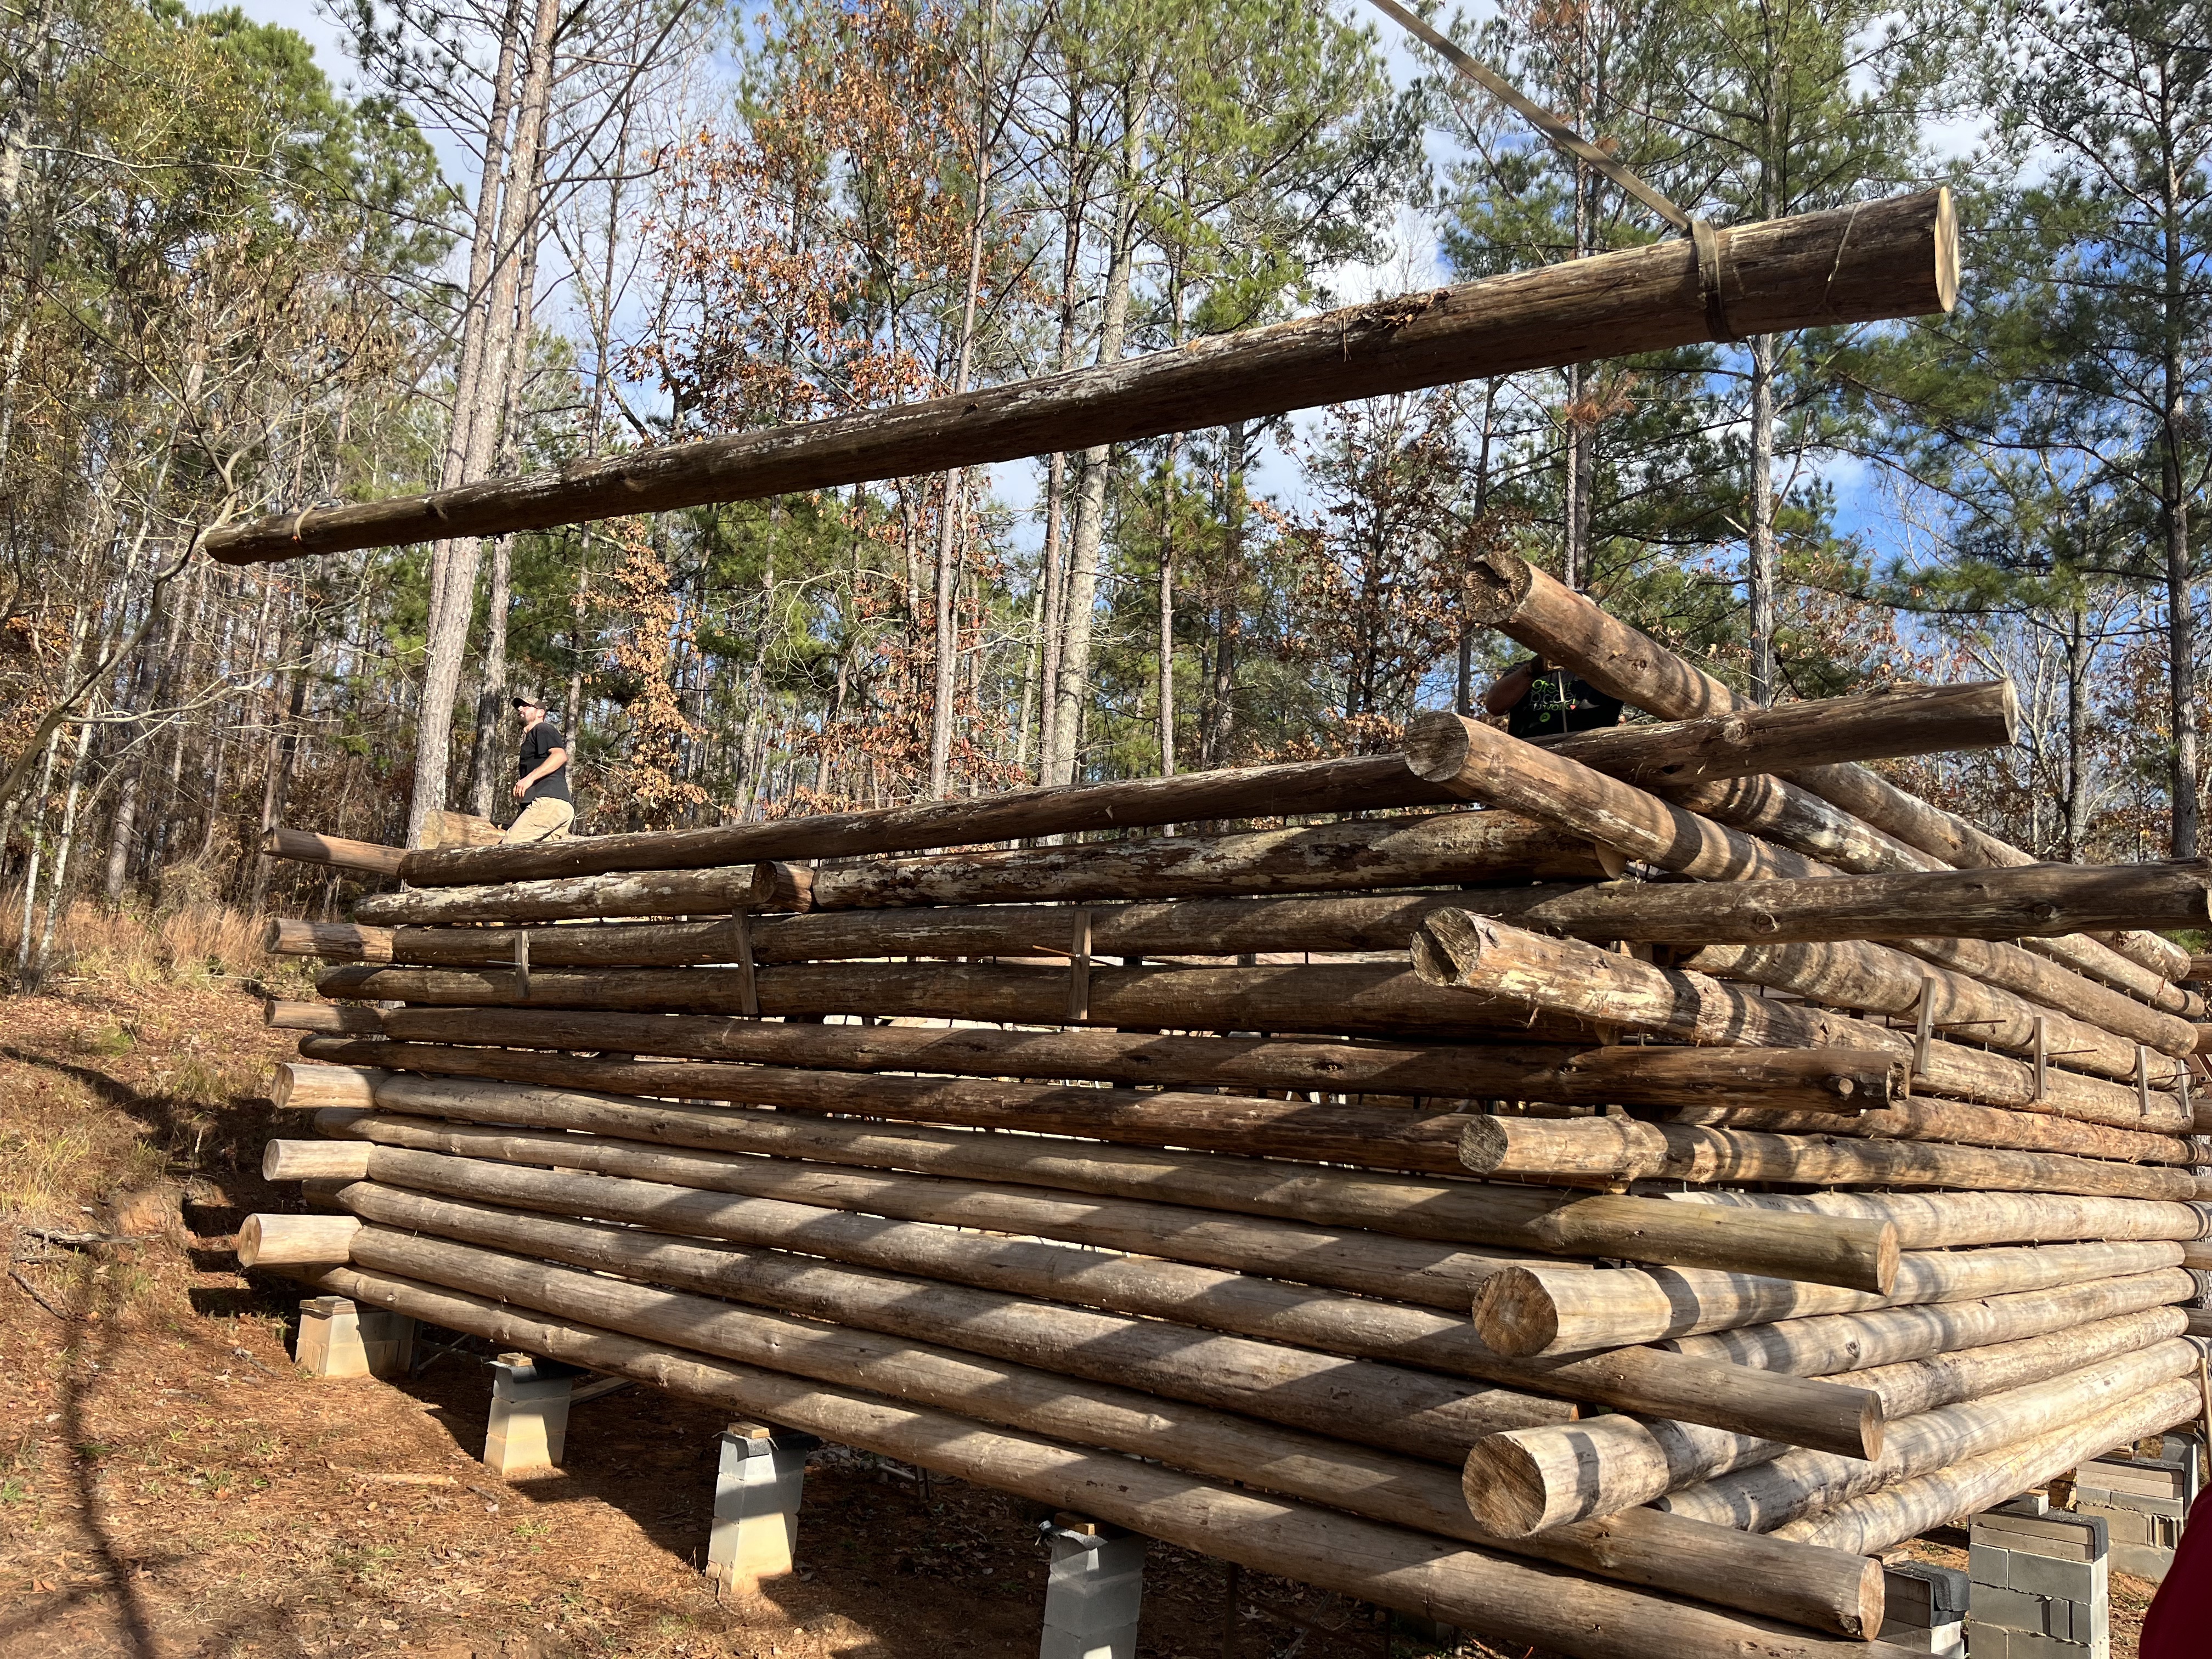
The next step is to attach Ridge Pole Support Logs to the front and back walls and secure the 48 foot Ridge Pole on top of these vertical poles. Oh that should be a lot fun! Stay tuned for more updates.
Keep Doing the Stuff of Self-Reliance,
~ Todd
P.S. – You can also keep up with the Stuff we’re Doing on Twitter, Pinterest, YouTube, Instagram, and Facebook… and over at our Doing the Stuff Network.
P.P.S – If you haven’t done so already, be sure to check out the new Survival Sherpa School and smash that subscribe button at the top of the page!

Thanks for Sharing the Stuff!
Copyright © by Survival Sherpa: Content on this site (unless the work of a third-party) may be shared freely in digital form, in part or whole, for non-commercial use with a link back to this site crediting the author. All links in articles must remain intact as originally posted in order to be republished.


