by Todd Walker
Coffee drinkers like myself usually have a favorite mug or cup. My all-time favorite “tankard” developed a crack and DRG trashed it. A sad day indeed!
My sob story may seem petty, but there’s nothing trivial about not having a way to “contain” stuff. Think of all the ways you use containers daily. Then imagine all your modern containers being gone… poof, no more. Welcome to the Stone Age!
Here’s what else disappears with your containers. Your ability to…
- Cook stuff without skewering it on a stick
- Collect, disinfect, transport, and drink water
- Raise plants and livestock
- Store food without stuffing it in an animal stomach
- Dispose of waste
- Personal hygiene
- Ferment food and drink
- Make medicinals
- Gather food
- Keep stuff clean
- Organize stuff
- etc., etc., etc….
This is why containers are king!
After attending a local two-day primitive pottery class, my respect and appreciation for the humble container grew exponentially. Making primitive pottery is not an emergency survival skill. If you’re making pottery in a 72 hour survival situation, you’re doing something wrong. There are easier ways to contain stuff in short-term scenarios. You’d have more important priorities to attend to than digging clay and firing primitive pottery. This is why your should always carry a metal container on outings.
The Process: Harvesting Clay
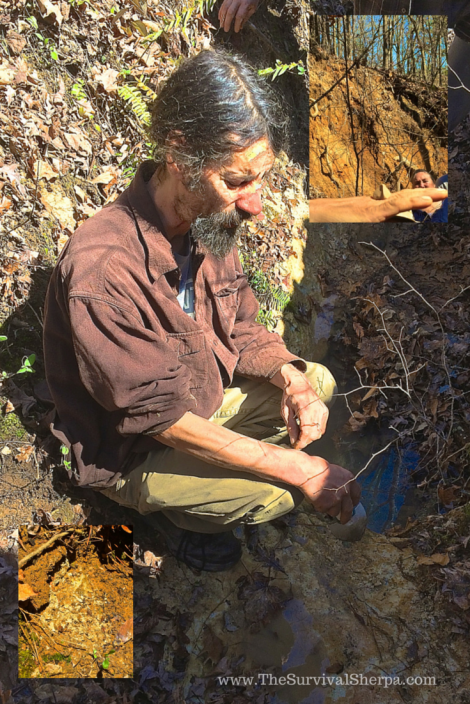
One of our instructors digging clay in a deep gully. The top inset shows a small piece of raw clay formed into a pyramid with polished sides.
Clay can be found in most parts of the round ball of dirt we call home. Some forms are better suited than others for pottery. Test the clay by rolling it between your hands to form a rope. If it bends into a pretzel without breaking, you’ve found a good candidate. Too much sand in the clay will cause it to the raw clay to crack and break.
There are ways to process marginal clay to make it useful stuff. Practical Primitive has an easy water extraction method here.
We used both commercial and locally harvested clay in our class. Incidentally, the commercial clay came from Lizella, Georgia, only 15 minutes from where I grew up.
Crafting Containers
Break off a orange-size piece of clay and work it in your hands. Before molding your container, temper the clay. Crushed rock, wood ash, and fired pottery chards can be used as a temper. The temper agent helps to control thermal shock and shrinkage during the drying and firing of your pottery.
Satisfied with the shape of our creations, pots, pipes, and beads were set in the shade to dry for an hour. After that time, designs were added to the pottery.
Tools
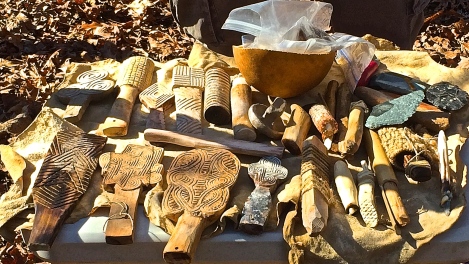
Like any craft, specific tools are needed. Below are some of the tools Brian Floyd, our guest instructor, uses to make his amazing pottery.
The paddles pictured above are used to paddle the clay against an anvil (solid surface; rock, knee, etc.) which, if my memory serves me, helps hold the clay together as you mold it. Stamped paddles also add a design to your clay pot.
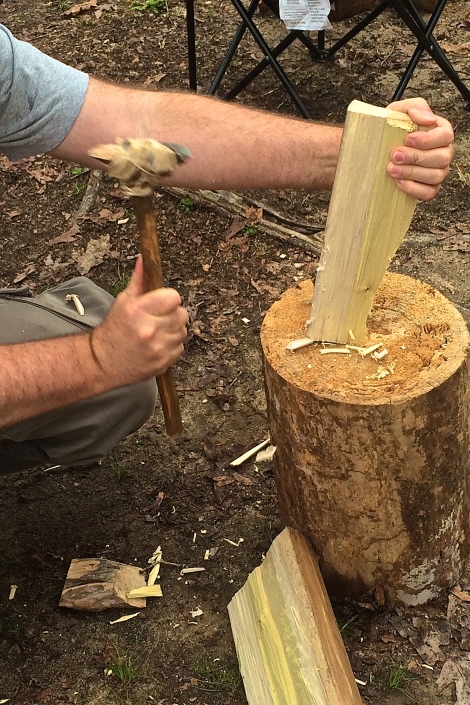
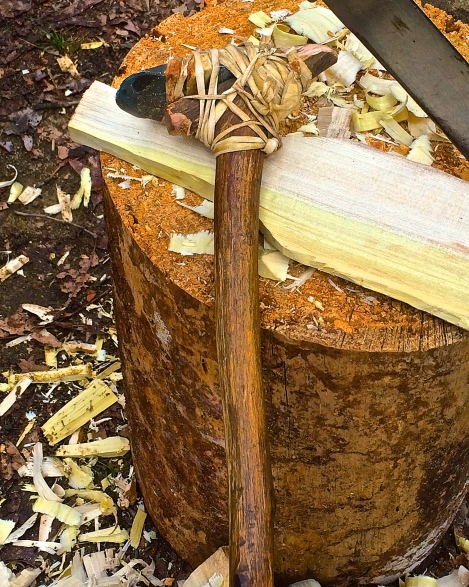
Brain demonstrated how to carve a paddle with primitive tools.
Each student received the following basic tools:
- Paddle
- Anvil
- Awl of river cane
- Scraper
Drying and Firing
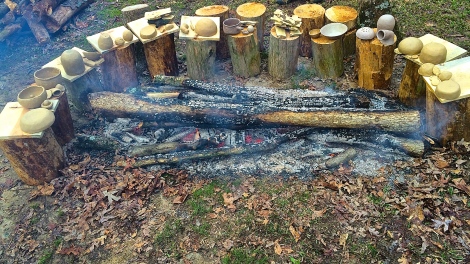
We sheltered the pottery on Scott’s porch to dry for two weeks before firing. On our second day of class, two weeks later, a long fire was burning when students arrived for class. Scott and Brain had our pottery on wood rounds in a semi-circle near the fire for pre-firing.
Heating the dried pottery too quickly will cause it to break into pieces. We gradually moved the items closer to the fire.
Eventually all the way into the fire.
Hurry Up and Wait
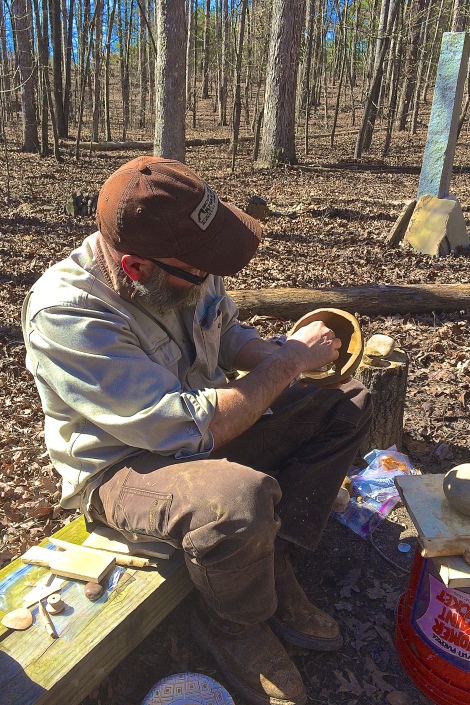
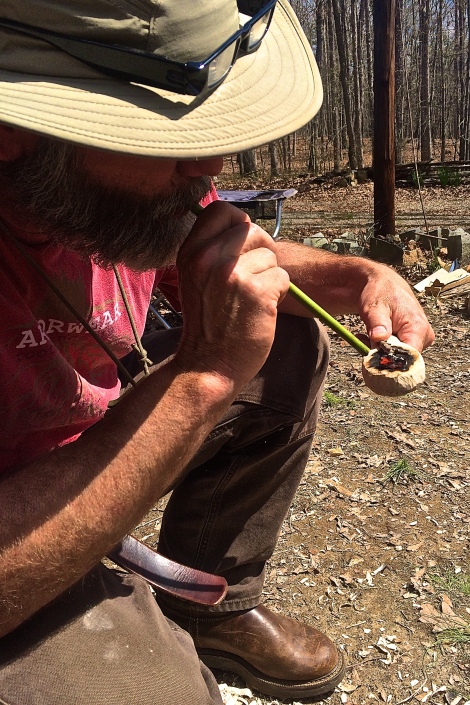
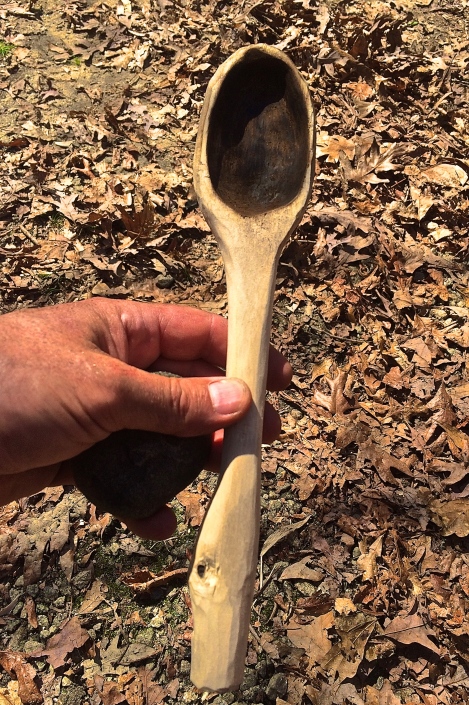
Watching primitive pottery fire is like watching paint dry. Modern primitive practitioners take advantage of the long wait by making other primitive stuff… “burn and scrape” wooden spoons and carved pottery paddles.
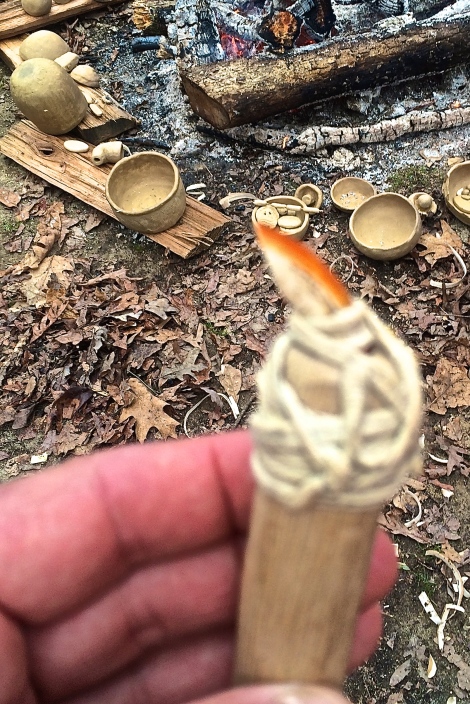
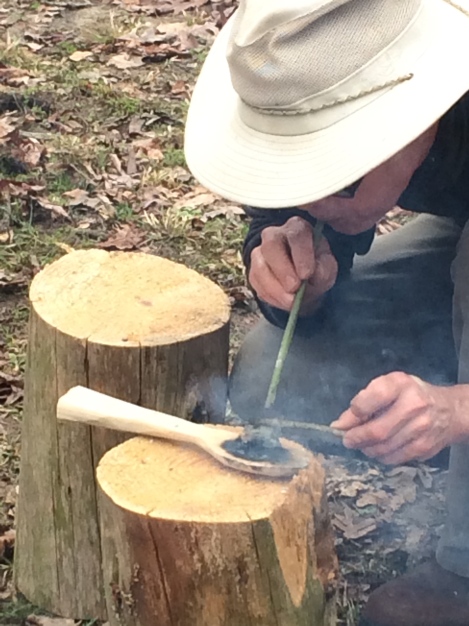
Once your spoon is carved, place a hot coal from the fire on the bowl of your spoon. Balance the coal and blow through a hollow reed or section of river cane. Use a green twig to hold the coal in place as you blow.
After burning a layer of wood on the bowl, scrape the area with a flint flake or other sharp stone. Repeat the burn and scrape cycle until you have reached the desired depth for your wooden spoon.
After the final scrape, burnish the wooden bowl with a smooth stone. The blackened bowl can be sanded clean if you desire. I like the burned look and plan to seal the spoon with walnut oil and use as is.
Finished Pottery
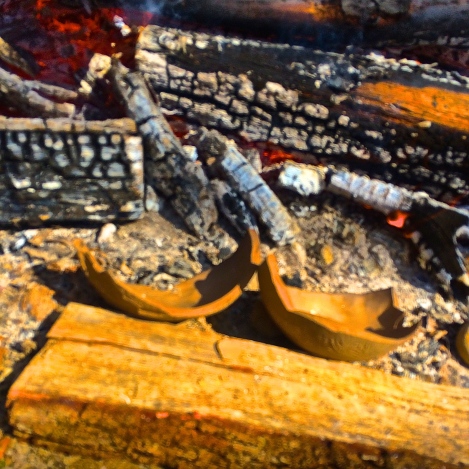
Many of the student containers made it through the firing process. Mine did not. Not all is lost. I plan to use the broken halves as mixing containers at my shelter to make pitch sticks and other primitive projects. The chards can be ground and used as temper for my next pottery project.
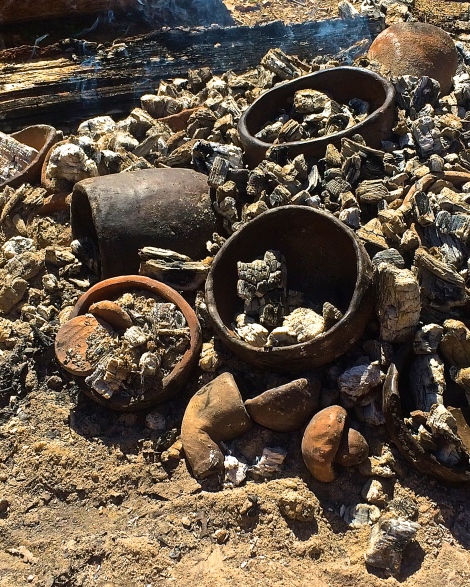
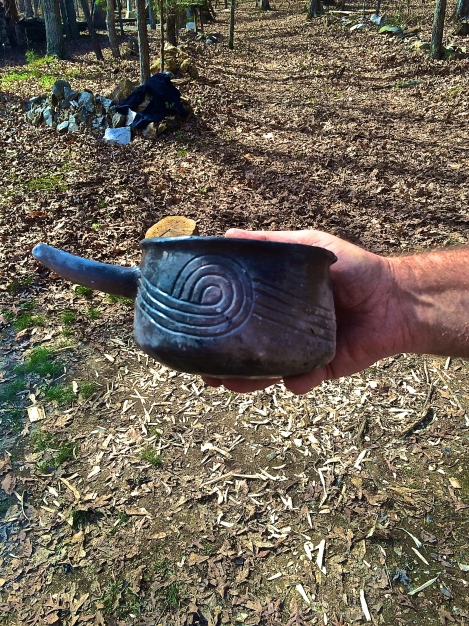
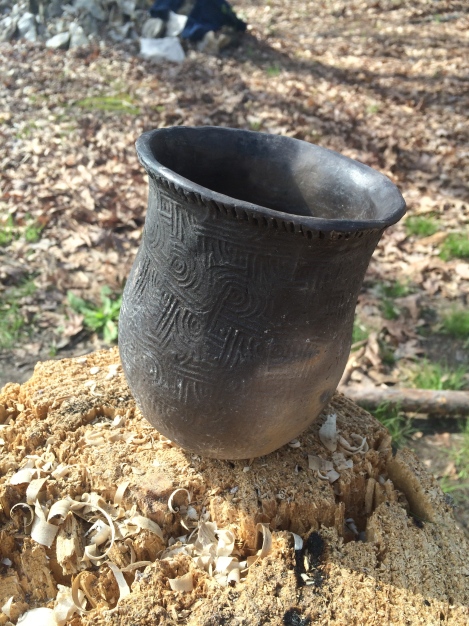
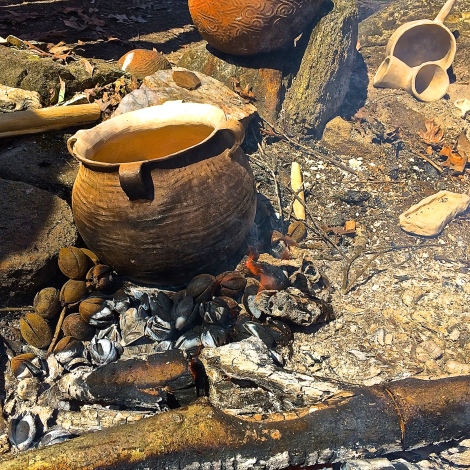
Here’s a few pics of some containers that made it through…
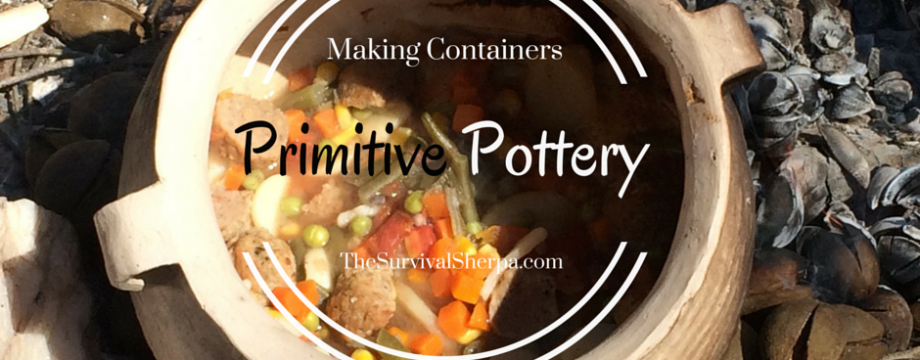
The two containers (pictured above) and the cook pot in the fire below was crafted by our instructor, Brian Floyd. His primitive pottery is functional as well as being works of art.
This was my first experience with primitive process pottery. Though my bowl broke in firing, I plan to make more.
For more information about Workshops in the Woods, click here for upcoming classes.
Keep Doing the Stuff of Self-Reliance,
Todd
P.S. – You can also keep up with the Stuff we’re Doing on Twitter, Pinterest, Google +, YouTube and our Facebook page… and over at the Doing the Stuff Network on Pinterest, Google +, and Facebook.
P.P.S – If you find value in our blog, Dirt Road Girl and I would appreciate your vote on Top Prepper Sites! You can vote daily by clicking here or on the image below. Check out all the other value-adding sites while you’re there…
Thanks for Sharing the Stuff!
Copyright: Content on this site (unless the work of a third-party) may be shared freely in digital form, in part or whole, for non-commercial use with a link back to this site crediting the author. All links in articles must remain intact as originally posted in order to be republished. If you are interested a third-party article, please contact the author directly for republishing information.




Great article on primitive living skills. These are truly “works of art”. I did a little ceramic work when I was younger (jr hi) and I still have the items. However, I would consider this more “Art” than “necessity” in this case. If you can’t find something metal to cook and carry water in, even years after a SHTF situation, you have more problems than can be dealt with by clay.
Tex
LikeLike
You’re right Tex. even trash in the wilderness makes good containers. Possum mentality!
LikeLike
Reblogged this on Paleotool's Weblog and commented:
I wanted to re-blog this excellent post about functional pottery construction from “Survival Sherpa”. I’m no great pottery maker but appreciate the craft for sure. Have a look.
LikeLike
Another great article! In my opinion, experimental archaeology is one of the most important sources of inspiration for bushcrafters!
LikeLike
Agreed!
LikeLike
And thank you!!
LikeLike
Pingback: Prepper News Watch for March 26, 2015 | The Preparedness Podcast
Pingback: Making Containers via Primitive Process Pottery - Prepared Bloggers
Pingback: Made by Hands: Make it or Buy it? | Survival Sherpa
Pingback: 27 Basecamp Projects Guaranteed to Elevate Skills and Fun in the Woods | Survival Sherpa
Great! Thanks
LikeLike
Great post!
I understand that clay fired in a normal fire instead of an kiln, it can not hold water and other liquids, but you say some one made a stew? How did he treat his pot to avoid leaking?
LikeLike
Hi Marius, I just got clarification on your question from Scott Jones who taught the class. Here’s his response…
“Howdy there Todd, hope you’re faring well in the tropical storm. No, no special process for primitive pottery. I think there’s a poor understanding of open-fired ceramics. A well-made pot hold liquids just fine. Being unglazed, they are somewhat porous and will “sweat” sort of like a gourd, which makes them good for water storage. I’ve found that the more they’re used for cooking, they seem to become less porous as the voids (presumably) fill with food residues…sort of like seasoning a cast iron pan.”
Hope this helps.
LikeLike
One thing that concerns me in using these as food/water containers is that I recall that lead is naturally in many clays. So unless you were to put a glaze on them and kiln fire, the lead can leach out of the walls of the vessel and you’d be consuming lead.
LikeLike
Actually, the trace quantities of lead that are in clay are typically too minute to cause any harm. You naturally have lead in your body from breathing, eating, etc. A glaze is not really necessary, as you’d most likely breathe in the same quantity of lead you’d get from eating out of a clay pot.
LikeLike
Pingback: Making Containers Via Primitive Process Pottery | SURVIVALIST.COM | SELF-RELIANCE | PREPAREDNESS
Very interesting! Thank you for uploading🙏
I’m really eager to make my own clay.
I’ve got the clay but it doesnt have tamper in it, what is the presentage of tamper would you assume that i would need to make my own clay if i was using wood ash as a tamper?
LikeLike
This might be from too long ago to ask this question now, but I was curious..,when using primitive tools (rocks) to carve the paddle, how do you clean up the ends of the wood? For this one, you started with a clean cut on the ends from a chainsaw or something. But, using rock tools, the ends are inevitably messy. Do you use fire on the ends or saw them with rock or something else?
LikeLike
Pingback: Discover the Timeless Art of Primitive Pottery – Bulletproof Survival Pantry